

At its core, a screenshot is just a digital picture of what's on your Mac’s screen at a specific moment. Think of it as a quick snapshot of your digital workspace—it captures exactly what you see so you can save it, share it, or look back at it later.
Your Mac’s Built-In Screen Camera
Knowing how to take a screenshot on a Mac is a fundamental skill, one you'll probably use every day. It's incredibly handy for everything from showing a tech support person an error message to grabbing a funny tweet or creating a quick how-to guide for a family member.
Apple has steadily refined this feature over the years. A huge leap forward came with macOS Mojave back in 2018, which introduced the powerful Shift-Command-5 shortcut. This single command brought up a neat, all-in-one panel for screen captures and even screen recordings, making the whole process far more user-friendly. It’s been a game-changer for people like bloggers and developers who constantly need to document their work visually. You can dig deeper into these features in Apple's official guide to Mac screenshots.

Mastering the Essential Mac Screenshot Shortcuts
When it comes to taking a screenshot on a Mac, knowing the keyboard commands is the fastest way to get the job done. These shortcuts are baked right into macOS, letting you grab exactly what you need without ever breaking your stride.
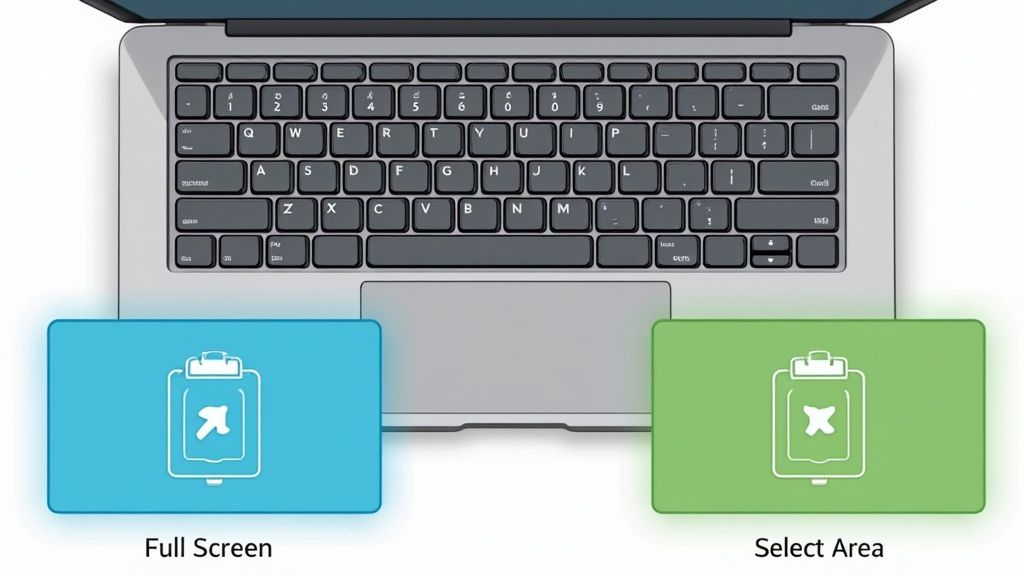
The most basic command, and often the one you'll reach for in a hurry, is Shift-Command-3. Pressing these three keys together instantly captures your entire screen—every open window, the menu bar, the Dock, everything. It’s the digital equivalent of taking a quick photograph of your entire desk.
But what if you only need a piece of the screen? For that, you'll want Shift-Command-4. This shortcut transforms your cursor into a set of crosshairs. From there, just click and drag a box around the specific area you want to capture. It's perfect for snagging a single paragraph, a chart, or an interesting image without all the clutter around it.
Pro Tip: Here’s a little trick that separates the amateurs from the pros. After pressing Shift-Command-4, don't drag. Instead, tap the spacebar. Your crosshair cursor will morph into a camera icon. Now, you can simply click on any window, menu, or even the Dock to capture it perfectly, complete with a professional-looking drop shadow. It’s a game-changer for creating clean, focused images for tutorials or reports.
Unlocking the Powerful Screenshot App
If you thought the basic shortcuts were handy, wait until you meet your Mac’s dedicated Screenshot app. Think of it as your mission control for screen captures. Just press Shift-Command-5, and a small, powerful toolbar pops up at the bottom of your screen.
This little control panel is where the magic happens. It gives you immediate, visual options to grab the entire screen, a specific window, or a custom-selected area with far more precision. You can even switch from still images to screen recordings, which is a lifesaver for making quick how-to videos or bug reports.
But the real game-changer is the "Options" menu. This is where you can truly tailor the process to fit your workflow.
Tired of cluttered desktops? Change the default save location to a dedicated folder. Need to capture a drop-down menu? Set a timer for a delayed screenshot. Want to show exactly where you’re clicking? Choose to show the mouse pointer. This tool moves you from just taking screenshots to crafting them.
Customize Where Your Mac Screenshots Go
By default, your Mac throws every screenshot you capture directly onto your Desktop. It’s handy for a moment, but it doesn't take long for your workspace to become a sea of files all named "Screen Shot" with a date and time stamp.
Thankfully, you're not stuck with that. You can easily tell your Mac exactly where you want your screenshots to live. For a deeper dive into the default settings, this video guide is a great resource.
Change the Save Location
To take control, just hit Shift-Command-5. This brings up the macOS Screenshot app and its handy toolbar.
Click the "Options" menu. From there, you can change the save location to a few different places:
- Your Documents folder
- The Clipboard (perfect for pasting directly into an email or message)
- A dedicated "Screenshots" folder you create yourself
Choosing a specific folder is probably the best way to keep your Desktop tidy and all your captures neatly organized in one spot.
Switch the File Format
Your Mac saves screenshots as PNG files by default. PNGs are high-quality, but the file sizes can be a bit large. If you'd rather have smaller files, you can switch the default to JPG.
This little tweak requires a quick trip to the Terminal app, but it's a straightforward command that changes how every what is screenshot on mac is saved from that point forward.
How to Edit and Annotate Your Screenshots
Taking the perfect screenshot is just the beginning. The real magic happens when you add your own notes and callouts to make it crystal clear, and your Mac has everything you need built right in.

The secret weapon here is Preview, the app that likely opens your screenshots by default. Just open your image and look for the Markup icon—it’s the one that looks like a pen tip inside a circle. Clicking it brings up the Markup Toolbar, which is your creative command center.
This simple toolbar unlocks a ton of useful editing features. Right away, you can:
- Add text to label specific buttons or areas.
- Draw arrows and shapes to guide the viewer’s eye exactly where you want it.
- Crop the image to get rid of any clutter and focus only on what matters.
- Redact sensitive information by drawing a solid box over passwords or personal details.
Best of all, this is all included with your Mac. You can take a basic screen grab and turn it into a professional-looking visual for a presentation or a helpful guide for a colleague without ever needing to download extra software.
Got Questions About Mac Screenshots?
You're not alone. When you first start grabbing screenshots on a Mac, a few common questions tend to pop up. Let's walk through them so you can feel like a pro.
Where Do My Screenshots Go by Default?
Apple keeps it simple: by default, every screenshot you snap lands right on your Desktop. You'll see them pop up instantly with a standard file name like “Screen Shot” followed by the date and time. This makes them super easy to find right after you take them.
How Can I Screenshot Just the Touch Bar?
For those with a Touch Bar-equipped MacBook Pro, there's a specific shortcut just for that. Just press Shift-Command-6. An image of whatever is currently on your Touch Bar will be saved straight to your desktop, just like any other screenshot.
It’s a sinking feeling when you accidentally delete a screenshot. The good news? It's usually not gone forever. Your first stop should always be the Trash folder on your Mac. If it's not there, don't panic. For a deeper dive into getting those captures back, you can learn more about recovering lost screenshots on EaseUS.com.
Ready to turn your basic screenshots into something special? GrabShot.io is a simple tool that gives your captures a professional look with AI-powered backgrounds, beautiful templates, and easy one-click redaction. Create clean, impressive visuals without ever opening a complicated design app. Give it a try for free and see how it works at https://grabshot.io.