

So, you need to capture what's on your screen, but there's no Print Screen key in sight. It's a common headache with newer, more compact keyboards. The good news is, you're not out of luck. In fact, you have better options.
The quickest fix is to learn the modern shortcuts: Windows + Shift + S on a Windows machine or Cmd + Shift + 4 on a Mac. Honestly, once you get the hang of these, you'll wonder why you ever bothered with the old-school Print Screen button. They give you way more control right from the start.
Your Keyboard Is Missing the Print Screen Key. Now What?
It's not just you. Many manufacturers, especially on laptops, are dropping the dedicated Print Screen key to make keyboards smaller and sleeker. Instead of seeing this as a setback, think of it as a push to adopt a smarter workflow.
The built-in screenshot tools on both Windows and macOS are far more flexible than the classic one-button-does-all approach. You can snag just one window, draw a custom shape around a specific detail, or capture the entire screen. These methods aren't just workarounds; they're genuine upgrades.
This chart breaks down the first choice you need to make, depending on your computer.
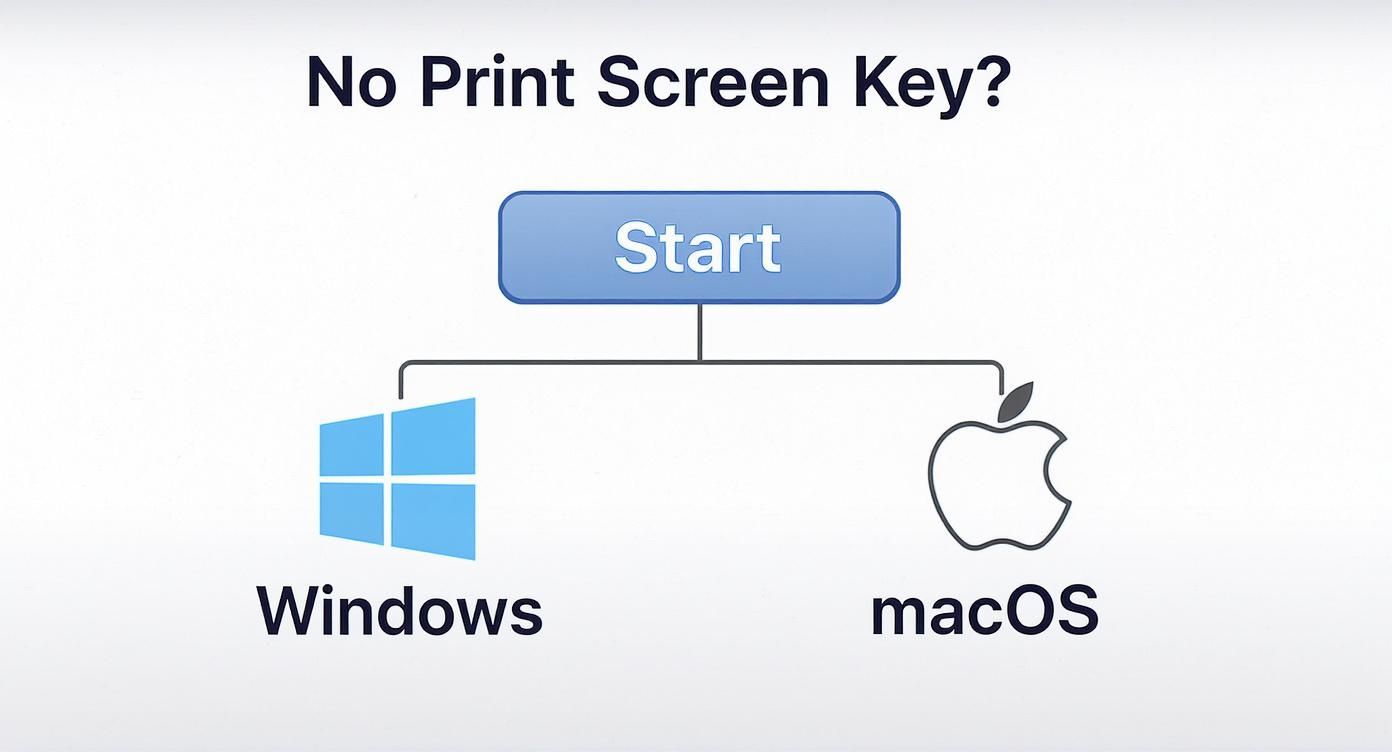
As you can see, the path forward is pretty straightforward once you know which operating system you're on.
The Rise of Modern Screenshot Shortcuts
As keyboards evolved, the need for a better way to capture screens grew. Microsoft answered this with the Windows + Shift + S shortcut, which came with Windows 10 and is a key part of Windows 11. Hitting this combination brings up a small, powerful menu that makes the old Print Screen process feel clunky and outdated.
If you're looking for a deeper dive, this video guide to Windows screen capture is a great resource.
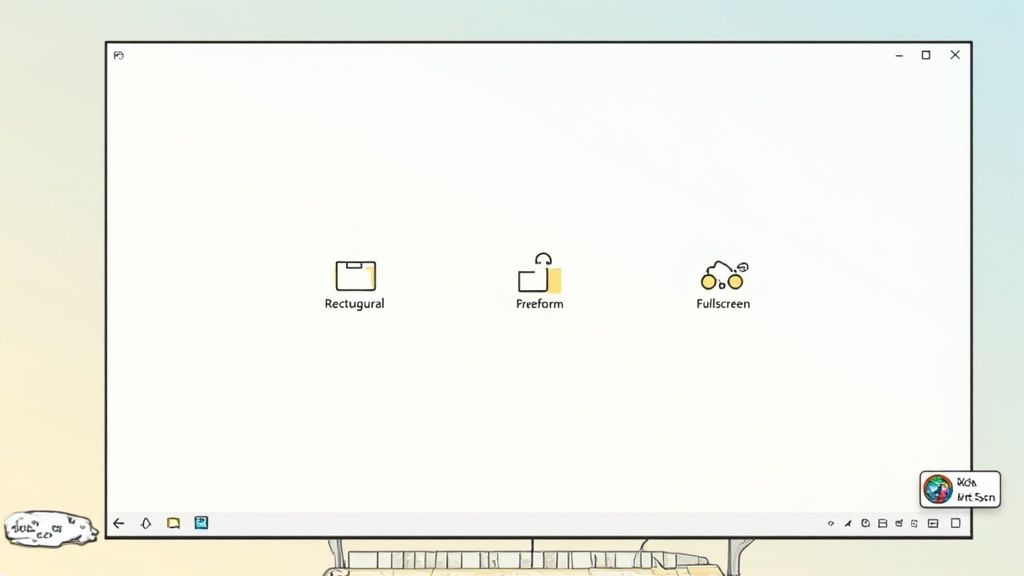
The menu gives you four capture options on the fly: a standard rectangle, a freeform shape, a specific window, or the entire screen. This means you can grab exactly what you need without having to open an image editor later to crop out all the extra stuff. It’s a huge time-saver.
To give you a quick overview, here's a table summarizing the best built-in options for both major operating systems.
Quick Guide to Print Screen Alternatives
| Operating System | Recommended Tool | Shortcut | Best For |
|---|---|---|---|
| Windows | Snip & Sketch (Snipping Tool) | Windows + Shift + S | Quickly grabbing specific regions, windows, or full-screen shots. |
| macOS | Screenshot App | Cmd + Shift + 4 | Capturing a selected area with precision crosshairs. |
| macOS | Screenshot App | Cmd + Shift + 3 | Instantly capturing the entire screen. |
These shortcuts are your best first stop for fast, effective screen captures. They are built right into the OS, so there's nothing to install.
Mastering Built-In Windows Screenshot Tools
Believe it or not, Windows has some powerful screen capture tools baked right in, making a dedicated Print Screen key almost obsolete. If you're still relying on that single-button method, you're missing out on a ton of control and flexibility that can seriously speed up your workflow.
The one keyboard shortcut you'll want to commit to memory is Windows + Shift + S. This instantly summons the Snipping Tool overlay, giving you several ways to capture exactly what you need without grabbing the whole screen and fussing with cropping later.
Unpacking the Win + Shift + S Shortcut
When you hit that key combo, you'll see a small toolbar pop up at the top of your screen with four different capture modes. This approach has become the go-to for most Windows users, and it’s easy to see why.
In fact, the use of built-in tools like this has exploded. The old Snip & Sketch app (the predecessor to today's Snipping Tool) saw a staggering 150% jump in usage between 2019 and 2023. It’s clear people prefer these more dynamic options.
Here’s a quick rundown of what each mode does:
- Rectangular Snip: Your everyday workhorse. Just click and drag a box around the area you want to save.
- Freeform Snip: This one is perfect for capturing odd shapes. Think of it like a digital pair of scissors to draw around an object.
- Window Snip: A huge time-saver. Hover over any open application window or dialog box and click once to capture it perfectly.
- Fullscreen Snip: The classic option. It grabs everything you see on all your monitors, just like the old Print Screen key used to do.
Alternative Built-In Capture Methods
What if keyboard shortcuts aren't your thing, or maybe they just aren't working? No problem. Windows has a couple more tricks for anyone wondering how to print screen without the actual key.
One surprisingly simple workaround is using the On-Screen Keyboard. Just search for it in your Start Menu, and a virtual keyboard will pop up. You’ll find a PrtScn button you can click with your mouse, which copies a full screenshot to your clipboard.
If you’re a gamer or need to record video clips, the Xbox Game Bar is another fantastic tool. Press Windows + G to bring it up. You’ll find a capture widget that can snap screenshots or record your screen, and it works great even outside of games.
While these tips cover the essentials, our guide on how to take a screenshot on a PC dives into even more methods.
Effortless Screenshots on macOS and ChromeOS
If you're not on a Windows machine, you're in luck. Both macOS and ChromeOS have slick, built-in ways to capture your screen that don’t rely on a dedicated key. These systems are designed around intuitive keyboard shortcuts, giving you instant control over what you want to save.
For anyone using a Mac, the whole process is baked right into the OS using the Command (Cmd) and Shift keys. Once you get the hang of it, these shortcuts become muscle memory for grabbing quick captures on the fly.
Capturing your screen shouldn't interrupt your workflow. The best methods are quick, flexible, and seamlessly integrated into the operating system, letting you grab exactly what you need in just a couple of keystrokes.
This approach keeps you in the zone, saving you from the hassle of opening up a separate app just to snap a picture of your screen. It's fast, clean, and incredibly efficient.
Mastering Mac Screenshot Shortcuts
The shortcut I use most often is Cmd + Shift + 4. This handy command transforms your cursor into a set of crosshairs. From there, just click and drag to select the exact portion of the screen you want. It's perfect for isolating a specific chart, a paragraph of text, or a single image from a crowded webpage.
Need to grab the whole screen? The shortcut is even simpler: Cmd + Shift + 3. This command instantly saves an image of your entire display right to your desktop. No fuss, no extra steps.
But the real powerhouse is Cmd + Shift + 5. This combination brings up a comprehensive toolbar packed with options. You can capture a selected window, record your screen activity, and even set a timer before the shot is taken. If you want to really dig in, our guide on how to print screen on a MacBook keyboard breaks down all these commands in greater detail.
Simple Captures on a Chromebook
Chromebooks are all about simplicity, and their screenshot method is no different. It's just as straightforward.
To take a full screenshot of your entire display, just press the Ctrl + Show Windows key. That's the one with an icon of stacked rectangles.
If you only need a specific part of the screen, use Ctrl + Shift + Show Windows. This key combo brings up a selection tool, letting you draw a box around the area you want to capture with precision. Chromebooks automatically save all your screenshots to your Downloads folder, keeping everything neat and tidy.
Using Third-Party Apps and Browser Extensions
While the built-in tools are handy for a quick grab, sometimes you just need more firepower. What if you need to capture a full, scrolling webpage? Or maybe you need to add annotations and share the image in seconds? This is where dedicated third-party apps and browser extensions really shine, offering features that leave the basic OS tools in the dust.
These tools are built for people who live and breathe screenshots and need a faster, more seamless workflow. Think about a developer trying to document a bug. With a specialized app, they can snag a specific part of the screen, add numbered steps to reproduce the issue, blur out sensitive user data, and drop it right into Jira or Slack—all without ever saving a file to their desktop. It’s that kind of efficiency that makes these tools so compelling.
This isn't a new problem, either. The quest for better screen capture has been going on since the early 2000s. Long before Windows got its Snipping Tool right, people relied on software like Greenshot (which came out way back in 2007) and Lightshot to fill the void. To give you an idea of the demand, Greenshot alone racked up over 5 million global downloads by 2020.
Dedicated Apps for Maximum Control
For anyone who needs the whole toolbox, a dedicated desktop app is the way to go. Greenshot and Lightshot are fantastic free options that run quietly in the background. You can set up a custom hotkey to trigger them, making the physical Print Screen key completely redundant.
Their real magic lies in just how much you can customize your workflow. You can set them up to:
- Instantly upload a screenshot to an image host and copy the shareable link.
- Open the capture directly in your favorite image editor for more complex edits.
- Add arrows, text, and highlights the moment you take the screenshot.
Imagine a customer support agent. They can use a hotkey to capture a user's problem, circle the error in red, type a quick note, and paste the finished image into a support ticket—all in about ten seconds. That’s a speed native tools just can't keep up with. For a deeper dive, you can check out our guide on Greenshot screen capture for more tips.
Browser Extensions for Web-Focused Tasks
If your work is almost entirely online, a browser extension might be all you need. Tools like GoFullPage and Nimbus are built specifically for capturing web content. GoFullPage, for example, does one thing exceptionally well: it captures an entire scrolling webpage with a single click. It's a lifesaver for a task that's otherwise a massive headache.
Other tools, like our own GrabShot.io, are designed to make sharing web captures effortless. The screenshot below shows just how clean and simple a browser-based tool can be.
As you can see, you can take a simple capture and instantly frame it, add a background, and get it ready for a social media post or a presentation, all without ever leaving your browser.
Pro Tips for a Better Screenshot Workflow
Nailing the screenshot is just the start. The real magic happens when you build an efficient workflow around it, especially when you're working without a dedicated Print Screen key. One of the biggest time-savers I've found is setting up an automatic save location.
Both Windows and macOS let you designate a specific folder—say, a "Screenshots" folder right on your Desktop—as the default destination for all your captures. This small tweak is a game-changer. It cuts out the annoying step of pasting every shot from your clipboard into an image editor just to save the file.
The best workflow is one you don't have to think about. Automating your saves and customizing your keyboard shortcuts turns a multi-step chore into a single, seamless action.
Create a Custom Print Screen Key
If you really miss the one-press simplicity of a Print Screen button, I've got a great solution for you. You can use a free utility suite called Microsoft PowerToys to remap any key on your keyboard to act as your new Print Screen key.
Think about a key you never use, like Scroll Lock or Pause/Break. With the Keyboard Manager tool inside PowerToys, you can tell your PC that pressing that key should now trigger a full-screen capture. Just like that, you’ve got your dedicated button back, no matter what keyboard you’re using.
Managing and Annotating Your Captures
A solid workflow isn't complete without a plan for what happens after you take the shot. Make a habit of cleaning out your screenshot folder regularly to keep it from becoming a digital junk drawer.
And when you share your screenshots, don't just send the raw image. Use a simple annotation tool to add an arrow, circle something important, or add a quick text note. It makes your point so much clearer and turns a simple picture into a genuinely useful visual for training guides, support tickets, or team presentations.
Got a Specific Screenshot Problem? We've Got Answers
Even with all the shortcuts and tools at your disposal, you can still run into tricky situations. Let's tackle some of the most common questions people have when trying to capture their screen without a dedicated key.
How Do I Screenshot on a Windows Tablet?
Taking a screenshot on a Windows tablet or 2-in-1 device is a lot like using your phone. Forget the keyboard shortcuts for a moment and think physical buttons.
On most models, you just need to press and hold the Windows button and the Volume Down button at the same time. You'll see the screen flash for a second, which is your confirmation that the shot was taken. The image is automatically saved right where you'd expect it: in your "Pictures > Screenshots" folder. It's a lifesaver for quickly grabbing an image of an app or an error message when you're on the move.
What if Win + Shift + S Isn't Working?
It's frustrating when a go-to shortcut like Win + Shift + S suddenly stops working. Don't worry, it's usually a simple fix.
First, make sure your Windows OS is up to date, as a quick update often clears out weird bugs. If that doesn't do the trick, dive into your settings and check that notifications for the Snipping Tool (or Snip & Sketch) are actually turned on. Sometimes, another program running in the background can hijack the shortcut. As a last resort, you can give the app a fresh start by going to Settings > Apps > Apps & features, finding the Snipping Tool, and using the "Repair" or "Reset" option.
Need to capture just one specific window? On Windows, the 'Window Snip' mode in the Snipping Tool is your best friend. It neatly isolates the window you click, saving you the hassle of cropping later.
If you're on a Mac, you can do the same thing with a clever little trick. Press Cmd + Shift + 4, and when the crosshairs appear, just tap the Spacebar. Your cursor will morph into a camera icon, letting you click any window for a perfect, clean shot.
When you're ready to move beyond basic captures and create something truly professional, GrabShot.io is the tool you need. It handles everything from the initial screenshot to adding beautiful backgrounds and sharing your work. Turn a simple screen grab into a polished visual in seconds. Give it a try at https://grabshot.io.