
It might seem like a bit of a throwback, but knowing how to screenshot for windows 7 is a skill that’s still surprisingly useful. The two go-to methods baked right into the system are hitting the Print Screen key for a quick full-screen grab or firing up the Snipping Tool for more surgical captures. Getting these down means you can document anything on your screen without having to install a thing.
Why This Windows 7 Skill Still Matters
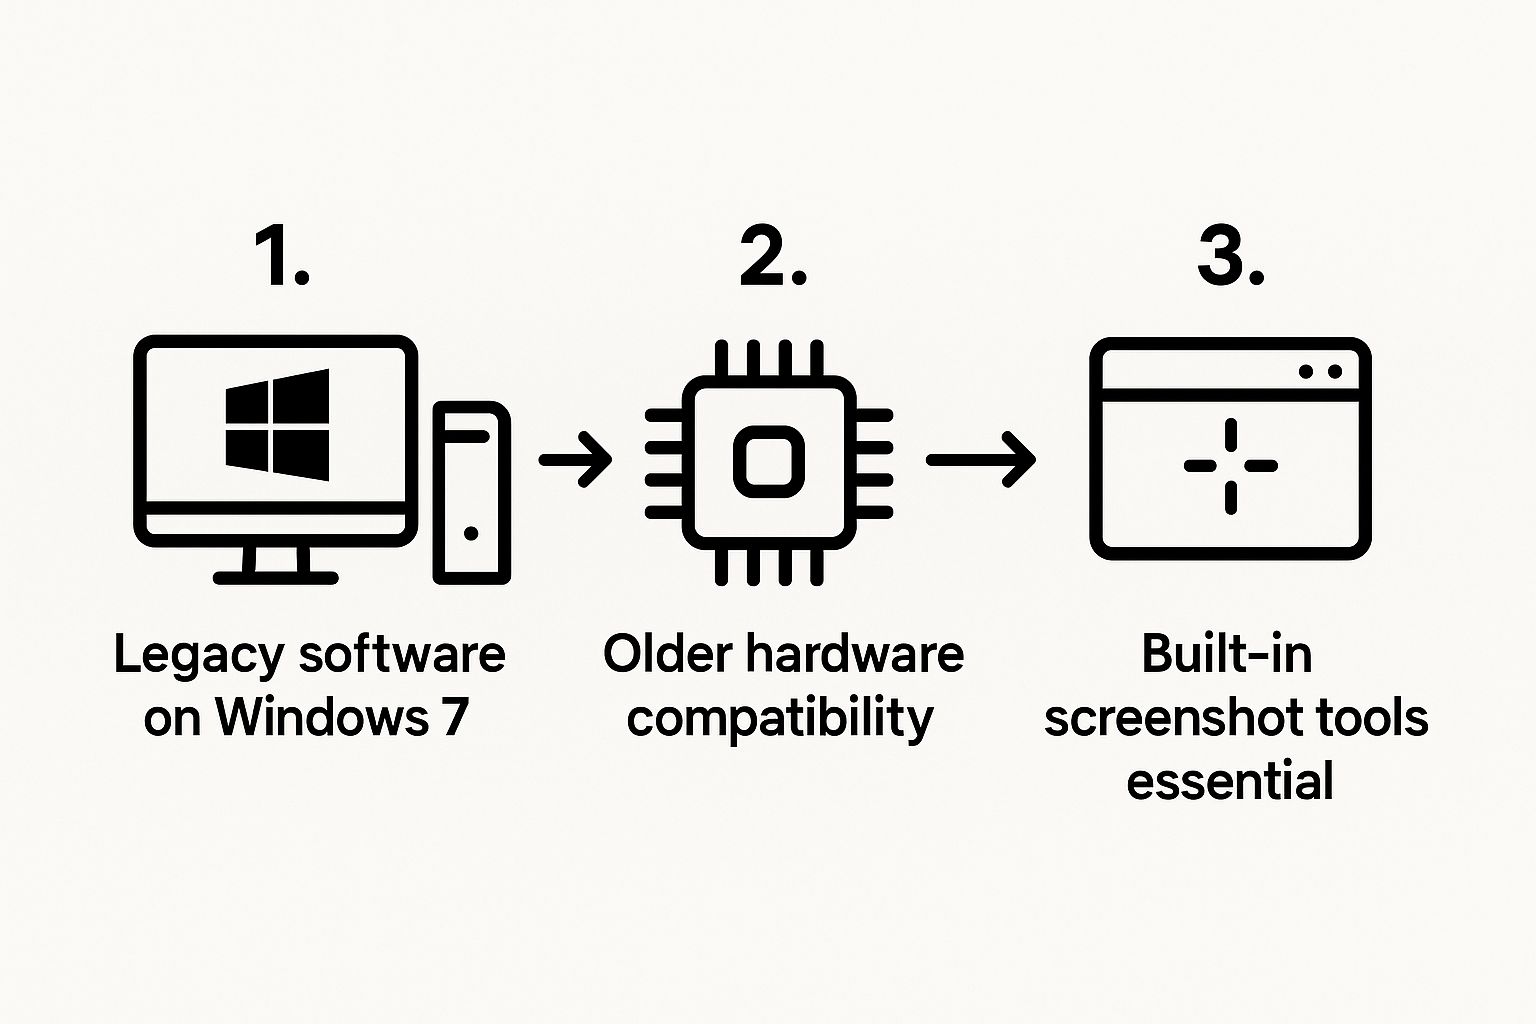
Even with official support long gone, Windows 7 has a surprisingly loyal following. It's not always about nostalgia; for many, it's a practical necessity. Think of small businesses running essential legacy software that never made the jump to newer operating systems. Or people with older, but still perfectly good, computers that just can't handle the resource demands of Windows 10 or 11.
For anyone in that boat, the built-in tools are daily drivers. They're essential for everything from snapping a picture of a software glitch for the IT guy to saving a digital receipt. Knowing how to use these native screenshot features from memory keeps things moving smoothly, no extra software needed.
A Persistent Presence in the Market
You might be surprised to learn just how many people are still running Windows 7. Its market footprint is much larger than you'd think for an operating system of its age.
As of September 2025, Windows 7 still powers about 9.15% of all Windows desktops worldwide. This isn't a rounding error; it’s a massive group of users who continue to rely on this classic OS every single day.
That number alone shows why these skills are far from obsolete. For many, it's a conscious choice driven by specific needs, as the infographic below highlights.
This visual really drives home the point: for millions, sticking with Windows 7 is a practical decision. These folks aren't just resisting change; they're making a calculated choice based on their software and hardware needs. To dig deeper into these numbers, you can check out the latest Windows market share data from StatCounter.
For a quick reference, this table breaks down the core screenshot methods built right into Windows 7.
Quick Guide to Windows 7 Screenshot Methods
| Method | Best For | How to Use | Saves As |
|---|---|---|---|
| Print Screen (PrtScn) | Capturing the entire screen instantly. | Press the PrtScn key. |
Copied to clipboard. |
| Alt + Print Screen | Capturing only the active window. | Hold Alt and press the PrtScn key. |
Copied to clipboard. |
| Snipping Tool | Free-form, rectangular, or window snips. | Launch from Start Menu, choose snip type. | PNG, GIF, JPEG, or HTML. |
Having these options at your fingertips makes it easy to grab exactly what you need, whether it's a full-screen view or just a tiny part of an application.
Using the Print Screen Key for Quick Captures
Sometimes the simplest method is the best one. For a quick, no-frills screenshot on Windows 7, nothing beats the good old Print Screen key. You'll usually find it labeled as PrtScn or PrtSc on your keyboard, and a single press is all it takes.
Tapping this key instantly copies an image of your entire screen—or screens, if you have a multi-monitor setup—to the clipboard. Think of the clipboard as temporary memory. The image isn't saved as a file just yet, but it's ready for you to paste into an application.
This is my go-to move when an unexpected error message appears and I need to capture it for an IT ticket before it vanishes. One key press, and I have the full context.
How to Isolate the Active Window
But what if you don't want to show your entire desktop? Maybe you just need to share the contents of a single program or folder without revealing your cluttered taskbar or background wallpaper.
For that, there's a handy keyboard shortcut: Alt + PrtScn. Holding down the Alt key while you press Print Screen tells Windows to capture only the active window. This is perfect for creating clean, focused images that get straight to the point. No cropping needed.
The beauty of the Print Screen method lies in its universal simplicity. It's baked right into the operating system, so it always works, no matter what you're doing. The image is on your clipboard in a fraction of a second, ready to be dropped into an email, a chat, or a document.
Saving Your Screenshot
Now that your capture is sitting on the clipboard, you need to paste it somewhere to save it as a file. The most accessible tool for this on Windows 7 is Microsoft Paint.
It's a straightforward process:
- Open the Start Menu, type "Paint" into the search bar, and hit Enter.
- Once Paint is open, just press
Ctrl + Vto paste your screenshot onto the canvas. - From there, go to File > Save As and select a common format like PNG or JPEG.
And that's it! You've turned a temporary screen capture into a permanent file that you can easily share or archive.
Mastering the Snipping Tool for Precision
While the Print Screen key is a workhorse for quick captures, it's not exactly precise. When you need more control over how to screenshot for windows 7, the built-in Snipping Tool is your secret weapon. It’s a small but powerful utility that lets you capture exactly what you need, saving you a ton of editing time later on.
Finding it is easy. Just pop open your Start Menu, type "Snipping Tool" in the search, and click it to get started. A small window will appear, ready for action. If you find yourself taking screenshots often, I'd highly recommend pinning it to your taskbar for quick access.
First introduced with Windows Vista and then polished up for Windows 7, the Snipping Tool was a real game-changer. It gave everyone a simple, visual way to grab rectangular, free-form, window, or full-screen shots without needing extra software. This created a fantastic duo: Print Screen for instant grabs and the Snipping Tool for when you needed to be exact. This approach served users well for years, and you can see how Windows 7's features contributed to its long-term popularity by checking out these Windows 7 and 10 adoption rates on Statista.
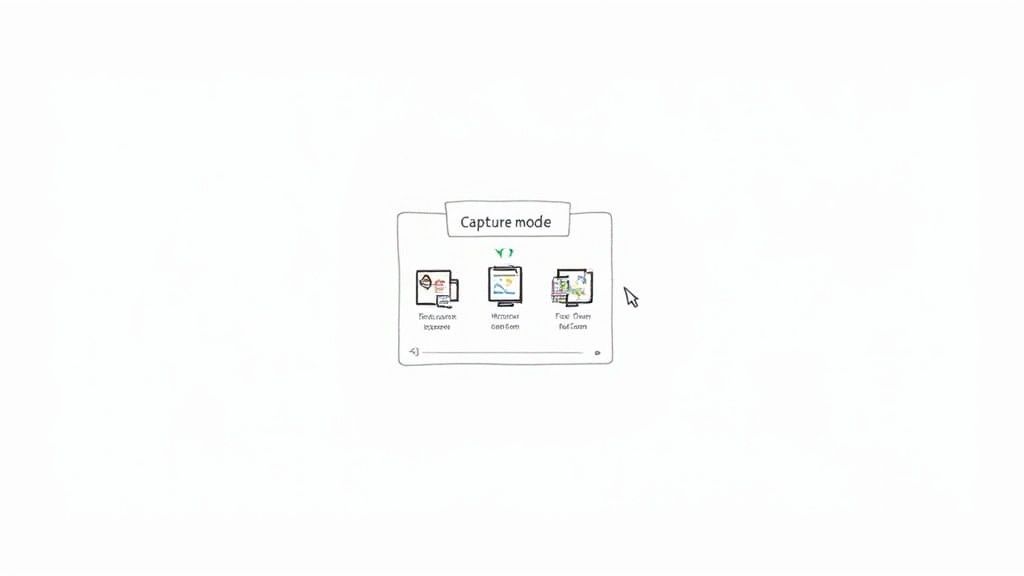
Choosing Your Capture Mode
The real magic of the Snipping Tool comes from its four distinct capture modes. Just click the little arrow next to the "New" button to see your options. Each one is built for a different kind of job, giving you complete flexibility.
- Free-form Snip: This lets you draw any shape you want. It's fantastic for grabbing something with an irregular outline, like a company logo on a website or a unique design element.
- Rectangular Snip: This is the one you'll probably use most. You just click and drag a box around whatever you want to capture—a chart in a report, a single paragraph of text, you name it.
- Window Snip: With a single click, you can capture an entire open window or dialog box. This is perfect for isolating a specific application, like an error message or a settings panel, without all the clutter of your desktop behind it.
- Full-screen Snip: Does exactly what it sounds like. It's the same as hitting the Print Screen key, capturing everything on your display instantly.
For creating tutorials, my go-to is always the Window Snip. It produces a clean, professional-looking image of a single application, which is so much easier for people to follow than a busy full-desktop shot.
After you've captured your snip, it automatically opens in a simple editor. From there, you can use a pen or highlighter to make quick annotations. It's incredibly handy for circling a button you want someone to click or highlighting a key piece of data before saving.
A Pro Tip for Tricky Captures
Ever tried to screenshot a dropdown menu, only to have it vanish the second you click on the Snipping Tool? It's a classic problem, but there's a brilliant little feature to get around it.
Inside the Snipping Tool, look for the Delay option and set it anywhere from 1 to 5 seconds. Once you click "New," you’ll have that much time to open the menu you need to capture before the screen freezes, letting you snip it perfectly. This trick is an absolute lifesaver for grabbing those elusive, temporary on-screen elements.
Troubleshooting Common Screenshot Problems
Even a simple process can hit a snag, and when you're just trying to figure out how to screenshot for windows 7, a technical hiccup is the last thing you need. It’s frustrating, for sure, but the good news is that the fixes are almost always quick and painless.
Let’s start with a classic problem, especially for laptop users: you press the PrtScn key, and… nothing happens. Before you start thinking your keyboard is on the fritz, look for a key labeled Fn, usually located near the bottom-left corner. Many laptops double-up their function keys with media controls. To get the screenshot to work, you often have to press Fn + PrtScn together. Give that combo a try; it's the solution nine times out of ten.
When Your Screenshots Come Out Black
Another head-scratcher is when you take a screenshot, but the result is just a black or empty rectangle. This is a common sight when you're trying to capture something with copy protection, like a movie playing in a media player or certain full-screen video games. The built-in tools in Windows 7 just can't see past this layer of hardware overlay.
The easiest way to get around the dreaded black screen is to toggle the application out of full-screen mode and into windowed mode. That simple switch is often all it takes for the Snipping Tool or Print Screen to see the image properly.
If that doesn't do the trick, here are a couple of other things to try:
- Turn Off Hardware Acceleration: Dive into the settings of your browser or media player. Look for an option called "hardware acceleration" and uncheck it. This can often resolve issues with capturing video content.
- Check Game Settings: If you're trying to screenshot a game, see if it has a "borderless windowed" or "windowed fullscreen" mode. These modes look just like full-screen but play much nicer with screen capture tools.
Locating Your Lost Snips
So, you used the Snipping Tool, you know you captured the perfect image, but now you can't find the file anywhere. Here’s the key difference: the Print Screen key sends its capture to your clipboard, but the Snipping Tool opens your snip in its own little editor window.
It's waiting for you to tell it what to do next. If you closed that window without explicitly saving, that screenshot is, unfortunately, gone for good. Always get in the habit of hitting Ctrl + S and picking a spot like your Desktop or Pictures folder to save your snip before you close the tool.
Take Your Screenshots to the Next Level with GrabShot.io
The built-in tools are fine for a quick grab, but let's be honest—they're pretty basic. If you're still on Windows 7 and want to supercharge your process, a free tool like GrabShot.io is a game-changer. It bridges the gap between the classic OS and the features we expect today.
What I really love is its built-in editor. You can instantly mark up your captures with text, arrows, or even blur out sensitive info. No more fumbling with Paint or Photoshop for a simple annotation. It's perfect for creating quick how-to guides or blacking out personal data before sharing.
Here’s a peek at the clean, straightforward interface.
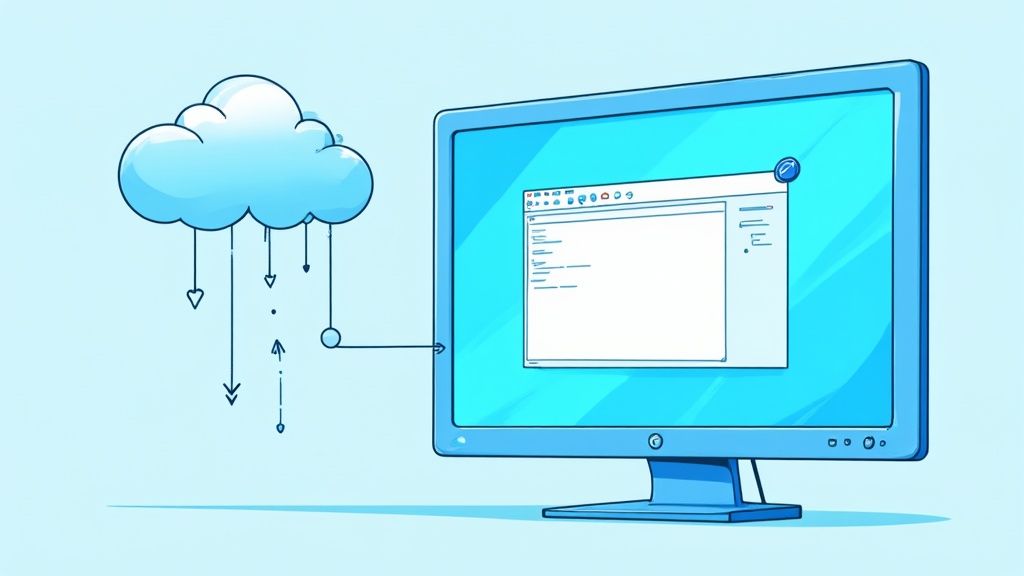
As you can see, all the editing and sharing tools are right there, exactly where you need them.
Share Instantly with Cloud Links
The real magic of GrabShot.io is its cloud sharing. Forget the old routine of save-to-desktop, find-the-file, attach-to-email. Just capture your screen, and the tool instantly generates a shareable link.
This completely transforms how you send visuals.
Think about it: instead of emailing a clunky attachment, you can just paste a link into Slack or a support ticket. It's faster for you and easier for the person on the other end.
For anyone who still loves the stability of Windows 7, a tool like this adds a layer of modern convenience that makes a world of difference. It makes your entire screenshot workflow faster, more flexible, and way more powerful.
Common Questions About Screenshots in Windows 7
Even after you've mastered the basics, a few tricky questions always seem to pop up when taking screenshots in Windows 7. Let's walk through some of the most common ones I hear, so you can capture images with confidence.
A big point of confusion is often where the screenshots actually go. When you hit the Print Screen key, it doesn't save a file anywhere. Instead, it copies the image to your clipboard, waiting for you to paste it into an image editor like Paint. The Snipping Tool is a bit more direct—it prompts you to save the file right after you capture the snip, typically suggesting your "Pictures" folder as the destination.
Why Are People Still Using Windows 7?
It might sound odd in this day and age, but a surprising number of people are still running Windows 7. This isn't just about old habits; for many, it's a practical necessity. Countless businesses and individuals depend on specialized legacy software or older hardware that just won't work with newer operating systems.
Believe it or not, its user base has seen a recent—and pretty significant—spike. Market share data shows it jumped from 0.88% in July 2025 all the way to 9.61% by September 2025. This lines up with the upcoming end-of-life for Windows 10, which seems to be pushing users who aren't keen on Windows 11's stricter requirements back to an OS they know and trust. You can read more about this unexpected trend on GB News.
How to Capture Scrolling Content
This is probably the question I get asked most often: how do you screenshot an entire long webpage or a multi-page document?
Can you take a scrolling screenshot on Windows 7 with its built-in tools? Unfortunately, the short answer is no. Neither the Print Screen method nor the Snipping Tool was designed to capture anything beyond what’s currently visible on your screen.
To grab that kind of long-form content, you’ll need to turn to a third-party application. Modern screen capture tools are built for exactly this purpose, letting you snag an entire webpage in one clean, continuous image.
If you're ready to move beyond the built-in basics and need a tool that handles everything from simple snips to advanced editing and sharing, GrabShot.io is a fantastic upgrade for any Windows 7 user. You can try it for free and see just how much easier it is to create professional-looking screenshots. Visit https://grabshot.io to get started.