
If you want to know how to print screen on a Mac, it all comes down to three essential keyboard shortcuts. You’ve got Command-Shift-3 for the entire screen, Command-Shift-4 for a specific area, and Command-Shift-4 then Spacebar for a single window. Getting these down is the first step to capturing exactly what you need, right when you need it.
Your Guide to Essential Mac Screenshot Shortcuts
Taking a screenshot on a Mac might seem basic, but the built-in tools are surprisingly powerful. It's not just about snapping a picture of your screen; it’s about creating a faster, more efficient workflow. Whether you're documenting a weird software bug for IT, putting together a how-to guide, or just saving a receipt, using the right command makes all the difference.
Let's break down the main methods so you can move beyond simple screen grabs and start making intentional, professional-looking captures. This infographic gives a great visual overview of the three core techniques.
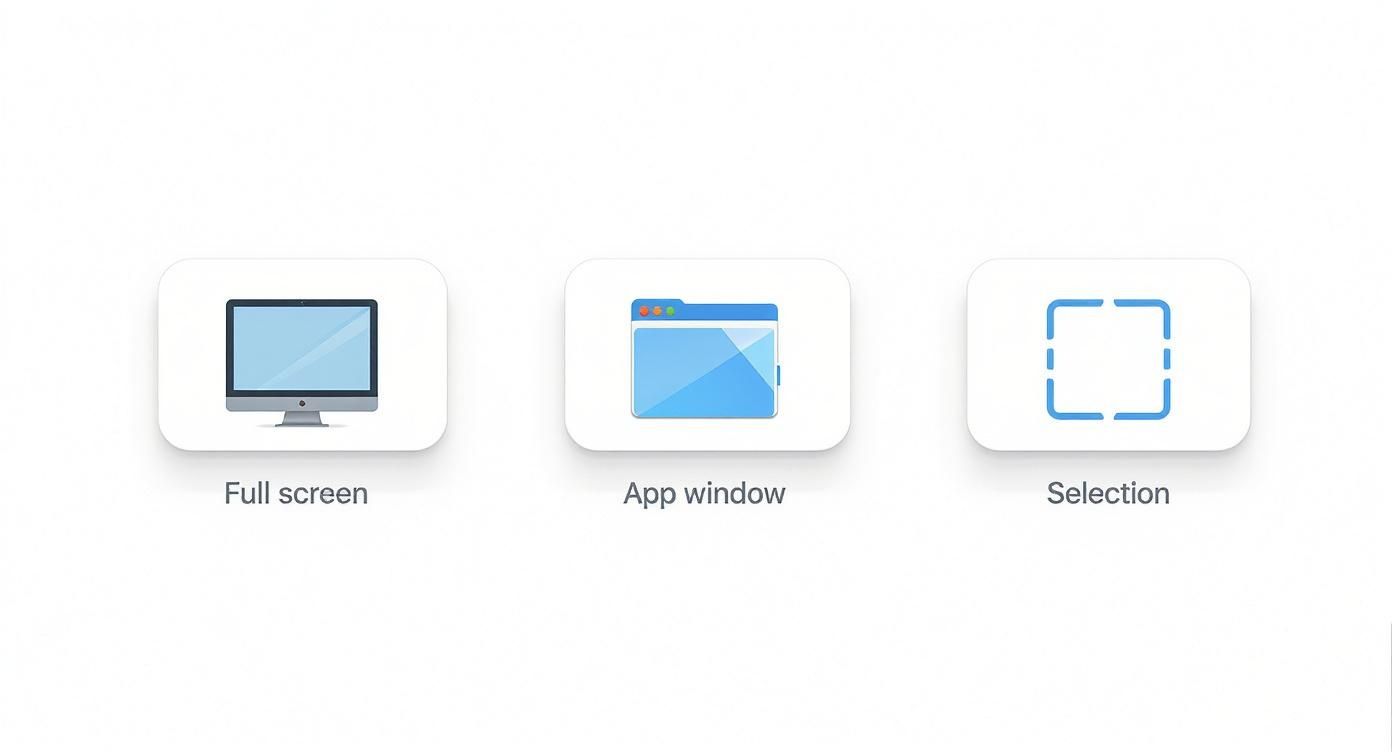
As you can see, each icon represents a different way to capture your screen, from grabbing everything at once to cleanly isolating a single application window.
Choosing the Right Shortcut for the Job
The real trick is knowing which shortcut to use for the task at hand. Need to send a complete picture of your desktop to tech support to show an error message? Command-Shift-3 is your best friend. It grabs everything you see, no questions asked.
But for creating clean visuals for a presentation or a blog post, capturing a single window is much more polished. That's where Command-Shift-4 followed by the Spacebar comes in. Your cursor turns into a camera icon, and as you hover over different windows, they'll highlight in blue. A single click captures just that window, complete with a nice, subtle drop shadow—and it leaves your messy desktop background out of the shot.
Then there's my personal favorite and the most flexible of the bunch: Command-Shift-4. This turns your cursor into a set of crosshairs, letting you click and drag to select the exact area you want to capture. It's perfect for snagging a specific paragraph from an article, a single chart from a busy webpage, or just one part of a design mockup.
Pro Tip: As soon as you take a screenshot, a little thumbnail preview pops up in the bottom-right corner of your screen. Don't just wait for it to disappear! You can click it to open the Markup editor for quick crops and annotations, or even better, drag and drop it directly into an email, a Slack message, or a document. It's a huge timesaver.
These tools are a core part of the Mac experience. A 2019 survey revealed that over 87% of Mac users use the built-in screenshot tools every single week, with full-screen capture being the most frequent. By default, every screenshot you take lands right on your desktop, ready to go. You can learn more about Mac user habits and see how others integrate these features into their daily routines.
Essential Mac Screenshot Shortcuts at a Glance
To make it even easier, here’s a quick-reference table that boils it all down. Keep these shortcuts handy, and you'll be a screenshot pro in no time.
| Shortcut | Action | Best For |
|---|---|---|
| Command-Shift-3 | Captures the entire screen | Quickly documenting everything visible, including multiple monitors. |
| Command-Shift-4 | Captures a selected rectangular area | Grabbing a specific portion of the screen, like a chart or a paragraph. |
| Command-Shift-4 + Spacebar | Captures a specific window, menu, or the Dock | Creating clean, professional images of a single application without the background. |
This table covers the fundamentals. Once you’ve memorized these, you’ll find yourself using them constantly throughout your day.
Keyboard shortcuts are great for quick grabs, but if you want more control, you need to know about Mac's dedicated Screenshot app. Many people don't even realize it's there.
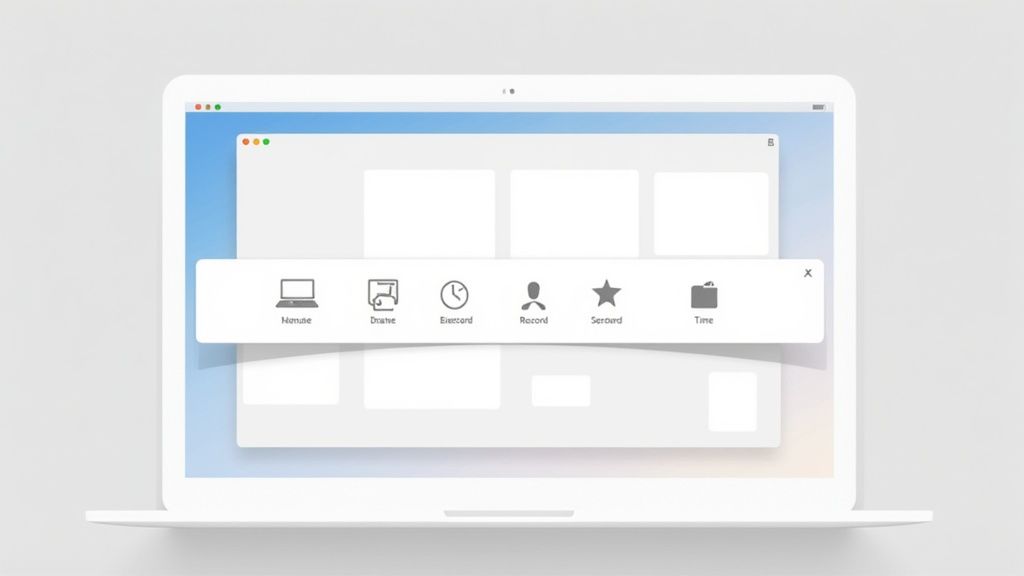
Just press Command-Shift-5. Instead of instantly snapping a picture, this command brings up a powerful control bar at the bottom of your screen. This little toolbar is your command center for more advanced captures.
You'll see the familiar options to capture the whole screen, a specific window, or a custom area. But the real game-changers are the two icons for screen recording. Now you can record your entire display or just a portion of it—perfect for making a quick tutorial for a teammate or documenting a bug.
Going Beyond Basic Captures
The Screenshot app's true power is tucked away in its "Options" menu. This is where you can fine-tune your entire workflow and stop cluttering your desktop.
Think about it: if you're gathering images for a big project, you don't want them scattered everywhere. From the Options menu, you can set them to save directly into a project folder. It's a small change that makes a huge difference.
Here are a few of the settings I use all the time:
- Save to: You can send captures to your Desktop, Documents, or even straight to the Clipboard. I often set a specific folder for a project to keep everything organized from the start.
- Timer: Setting a 5 or 10-second delay is brilliant. It gives you just enough time to open a drop-down menu or get your cursor in the right spot before the screenshot is taken.
- Show Floating Thumbnail: That little preview that pops up can be handy, but sometimes it just gets in the way. You can turn it off here for a cleaner experience.
- Show Mouse Pointer: This is a must-have for instructional screenshots. You can choose to include your cursor to show exactly where you're pointing.
Let's say you need to show a colleague how to find a specific setting in an app. You'd hit Command-Shift-5, choose "Record Selected Portion," draw a box around the app, and hit record. In seconds, you've created a mini-tutorial without needing any other software.
Understanding Your Saved Files
Once you’ve taken a screenshot, macOS gives it a very logical, if a bit long, filename. You’ll see something like Screen Shot 2023-10-05 at 10.15.30 AM.png.
This format embeds the exact date and time right into the filename, which is incredibly useful for finding something you captured weeks ago. Don't worry, this timestamp is just for the file's name and won't appear on the image itself. If you're curious about the specifics, you can learn more about how macOS names screenshot files and the logic behind it. It’s one of those small, thoughtful details that makes the system so good at helping you stay organized.
Customizing Your Screenshot Workflow
Knowing the basic screenshot commands is one thing, but truly making the tool work for you is where the magic happens. Once you move beyond the defaults, you can build a faster, more efficient workflow that fits right into how you already work. It's about turning a simple utility into a powerhouse feature.
For example, macOS saves every screenshot as a high-quality PNG file by default. That's great for quality, but the file sizes can be surprisingly large. If you're snapping dozens of images for a project, that can eat up storage fast. A tiny tweak here can make a huge difference.
Fine-Tuning Your Capture Settings
You can get under the hood of the screenshot tool by pulling up the main controls with Command-Shift-5. From there, just click the Options menu to see all your choices.
Here are a few of the most useful adjustments you can make:
- Change the File Format: To save a little disk space, you can switch the default file type to JPG. This is perfect for web content or internal docs where you don't need pixel-perfect image quality.
- Disable the Floating Thumbnail: That little preview that pops up in the corner is handy for quick markups, but it can also get in the way. Turning it off means you can take shot after shot without any delay.
- Set a New Save Destination: Are you tired of screenshots cluttering your Desktop? Me too. You can tell your Mac to save them all to a specific folder, like "Project Captures," keeping everything tidy right from the start.
This level of control makes sense when you consider just how vital this feature is. It's estimated that Mac users save over 1.2 billion screenshots every year around the globe. If you're curious, you can discover more about Mac screenshot usage and see how baked-in this tool is for millions of people.
The Ultimate Time-Saving Shortcut
Now for a pro tip that will completely change how you share screenshots: just add the Control key to any of the standard capture commands.
For instance, pressing Command-Control-Shift-4 doesn't save a file to your desktop. Instead, it copies the captured area directly to your clipboard. You can then immediately paste it into a Slack message, an email, a Google Doc, or a design app. This one simple change cuts out the entire process of finding the file, dragging it into another window, and then having to delete the original later. It's the absolute fastest way to share what's on your screen.
Editing and Annotating Screenshots Like a Pro
Grabbing a shot of your screen is just the first step. The real magic happens when you turn that simple image into a powerful communication tool, and you don't need fancy, expensive software to do it.
When you take a screenshot on your Mac, a little thumbnail pops up in the corner. That's your quick gateway to Markup, a surprisingly robust editor that’s built right in. Clicking it opens your screenshot instantly, ready for you to get to work. This is where you can add an arrow to pinpoint a specific button in a tutorial, use the text tool for a quick note, or draw a shape to highlight a key number in a report. It’s how a basic screen grab becomes a crystal-clear visual explanation.
This built-in editing is a massive improvement from the old days. The ability to take screenshots on Mac has come a long way since the original Macintosh in 1984, when you almost always needed a separate app for even the most basic captures. It's interesting to see just how Mac screenshotting has improved over the decades.
Practical Annotation in Action
Let’s say you’re giving feedback on a new website design. Instead of trying to describe everything in a long email, a quick, annotated screenshot gets your point across in seconds.
- Arrows and Shapes: Use the Shapes tool to circle a logo that feels too small or draw an arrow to a confusing menu item.
- Text Callouts: Drop a text box right next to an element with a comment like, "Can we make this button pop more?"
- Quick Redaction: Need to share a screenshot of a form but hide your email address? Just draw a filled rectangle over it to block out sensitive info before you send it.
Pro Tip: Need a perfectly straight line or a flawless circle? Just hold the Shift key while you draw any shape in Markup. It’s a simple trick that instantly makes your annotations look sharper and more professional—perfect for polished how-to guides or bug reports.
Knowing how to take a screenshot is one thing, but mastering these quick editing tools is what makes your visuals truly effective.
Troubleshooting Common Screenshot Issues
It’s happened to all of us. You hit the familiar key combo to grab a screenshot, and… nothing. The shortcuts suddenly feel dead, or maybe your screenshots are saving to some mysterious void on your hard drive.
Knowing the shortcuts is one thing, but knowing what to do when they fail is what really matters.
More often than not, the problem isn't some deep system failure. It's usually a simple conflict. Another app might be using the same keyboard command, effectively "stealing" it from macOS's built-in tool. Even though over 95% of Mac users are happy with the native screenshot tools, these third-party software conflicts can still pop up. You can read more about common Mac software conflicts over on the Apple forums to see just how often this happens.
This is where a quick system check can save the day.
Quick Fixes for Screenshot Problems
Before you start digging deep into system files, try these simple diagnostics first. In my experience, one of these will solve the issue the vast majority of the time.
-
Check Your Keyboard Shortcuts: Head over to System Settings > Keyboard > Keyboard Shortcuts > Screenshots. Make sure the boxes next to the screenshot commands are actually checked. I've seen system updates or a new app installation mysteriously disable them.
-
Find Your Save Location: Are your screenshots seemingly vanishing into thin air? You might have accidentally changed where they're saved. Press Command-Shift-5 to bring up the Screenshot app's toolbar, click "Options," and double-check where your files are being sent. It's an easy thing to overlook.
If all else fails, don't underestimate the power of a simple restart. A quick reboot can often clear up temporary glitches or software conflicts that are causing the problem.
Frequently Asked Screenshot Questions
https://www.youtube.com/embed/uJG9a-sQ4mI
Even after you’ve mastered the basics of taking a screenshot on a Mac, some tricky situations always seem to come up. I’ve run into my fair share of them over the years, so I’ve pulled together answers to the questions I hear most often.
A big one is about the Touch Bar. Can you actually screenshot that little strip? Absolutely! The shortcut for this is Command-Shift-6. MacOS will save a long, thin image of whatever your Touch Bar is displaying, which is incredibly handy if you're putting together a guide for an app that uses it.
Another frequent question is about wrestling with those default filenames. While you do have to dip your toes into the Terminal app, you can easily switch the "Screen Shot" prefix to something that actually makes sense for your workflow, like "ClientProject" or "DesignMockup." It’s a small change that makes organizing your files so much easier right from the start.
Other Key Questions Answered
"What's the fastest way to just send a screenshot to someone without saving it?" This is a game-changer. Just add the Control key to your usual screenshot shortcut.
- Command-Control-Shift-3: This copies your entire screen straight to the clipboard.
- Command-Control-Shift-4: This does the same, but for a specific area you select.
This little trick skips the step of saving a file to your desktop entirely. You can just paste the image directly into a Slack message, an email, or a Google Doc. It's my go-to for quick, on-the-fly sharing.
But what happens when your screenshots suddenly stop appearing on your Desktop? That's their default home, so if they've vanished, you've probably changed the save location without realizing it. Just bring up the Screenshot app with Command-Shift-5, click on "Options," and look at the "Save to" section. You can easily point it back to your Desktop or any other folder you prefer.
Knowing these little tricks will help you handle just about any screenshot scenario that comes your way.
Ready to take those captures from basic to brilliant? With GrabShot.io, you can use AI to instantly beautify your images, automatically redact sensitive information, and export perfectly framed visuals in just a few clicks. Stop sending dull screenshots and start creating something impressive. Try GrabShot.io for free today!