

Taking a screenshot on your Mac is one of those things that, once you learn the shortcuts, you'll use constantly. For a quick snapshot of your entire screen, just hit Command + Shift + 3. Need to grab just a specific part? Use Command + Shift + 4 instead. Honestly, those two commands will handle about 90% of what you need.
Your Instant Guide to Mac Screenshots
Mastering the art of the screenshot is a core Mac skill. Whether you're putting together a how-to guide, flagging a software bug for a developer, or just want to share something interesting you saw online, macOS has you covered. The best part? The tools are built right in, so you don't need to hunt for third-party apps to get the job done.
The classic, full-screen capture (Command + Shift + 3) is a favorite for a reason—it’s fast and captures everything in context. In fact, an estimated 78% of Mac users rely on this simple shortcut for most of their needs. And with over 66% of the user base expected to be on macOS 15.3 by March 2025, these powerful native features are more widespread than ever. If you're curious, you can find more insights about macOS usage statistics in recent surveys.
The Screenshot Commands You'll Actually Use
For your day-to-day workflow, you can get by with just a couple of keyboard combos.
-
Command + Shift + 3: This is your "get everything" command. It instantly grabs a picture of your entire screen, which is perfect when you need to show the full desktop or an application with all its toolbars.
-
Command + Shift + 4: This one gives you more control. Your cursor turns into a set of crosshairs, letting you click and drag to draw a box around exactly what you want to capture. It's my go-to for isolating a specific paragraph, a graph, or an image without all the clutter around it.
-
Command + Shift + 4, then Spacebar: Here’s a slightly more advanced trick that looks incredibly professional. After hitting the initial combo, tap the Spacebar. Your cursor will transform into a camera icon. Now, just click on any open window, and macOS will capture it perfectly—drop shadow and all.
Pro Tip: Ever start dragging a selection with Command + Shift + 4 and realize you messed up? Don't worry. Just hit the 'Escape' key before you let go of the mouse button, and it'll cancel the whole thing. No harm, no foul.
Memorizing shortcuts can be a pain, so here’s a handy table to keep the essentials straight.
Mac Screenshot Shortcuts at a Glance
This quick reference table breaks down the most common shortcuts, what they do, and when you should use them.
| Shortcut Combination | Action | Best For |
|---|---|---|
Command + Shift + 3 |
Captures the entire screen | Documenting a full application view or error message. |
Command + Shift + 4 |
Captures a selected area | Sharing a specific snippet of text, an image, or a chart. |
Command + Shift + 4 + Spacebar |
Captures a specific window | Creating clean, professional shots of an app's interface. |
Keep these combinations in mind, and you'll be capturing screen grabs like a pro in no time.
More Than Just Shortcuts: Mastering Your Mac's Screenshot Game

Knowing the basic keyboard commands is one thing, but really getting the hang of Mac screenshots means knowing which shortcut to use and when. It's about building muscle memory so you can snag the perfect visual without breaking your stride. Let's move past memorization and talk about real-world situations.
Picture this: a bizarre software bug pops up with a fleeting error message. This is a job for Command + Shift + 3. One quick press and you’ve captured the entire screen. It’s the perfect evidence for a support ticket because it shows the error message and everything else happening in the application at that moment.
Nailing the Perfect Selection
But what if you don't need the whole screen? Say you're reading an article and find a killer quote you want to drop into a Slack message for your team. This is where Command + Shift + 4 shines. Your cursor instantly turns into a crosshair, letting you click and drag a tidy box around just the text you want. No more cropping out distracting ads or irrelevant paragraphs later.
This partial capture shortcut is a fan favorite for a reason. In environments like education, where Macs are everywhere, about 85% of users lean on screenshot shortcuts daily. Command + Shift + 4 is the second most common method, and its popularity makes sense. With the rise of remote work and online learning, screenshot usage has jumped by 22% recently. You can dig into more trends in the full report on Apple in the enterprise.
Power User Tip: After you start dragging a selection with
Command + Shift + 4, try holding down the Spacebar. This neat trick lets you move the entire selection box around the screen to fine-tune its position before you let go of the mouse.
Isolating a Single Window
Okay, last scenario. You’re putting together a tutorial or a presentation and need a clean, professional-looking image of a specific app window. For this, your go-to move is Command + Shift + 4, followed by a quick tap of the Spacebar. Your cursor will morph into a little camera icon.
Just hover that camera over any window—you'll see it light up—and click. This little-known trick is brilliant for two reasons:
- It captures only the app window, leaving your cluttered desktop background out of the picture.
- It automatically adds the window's subtle drop shadow, giving your screenshot a crisp, polished look right from the start.
When you start connecting each shortcut to a specific task, you're not just remembering key combos anymore. You're building an intuitive workflow that makes capturing the right shot, right away, second nature.
Unlocking the Powerful Screenshot App

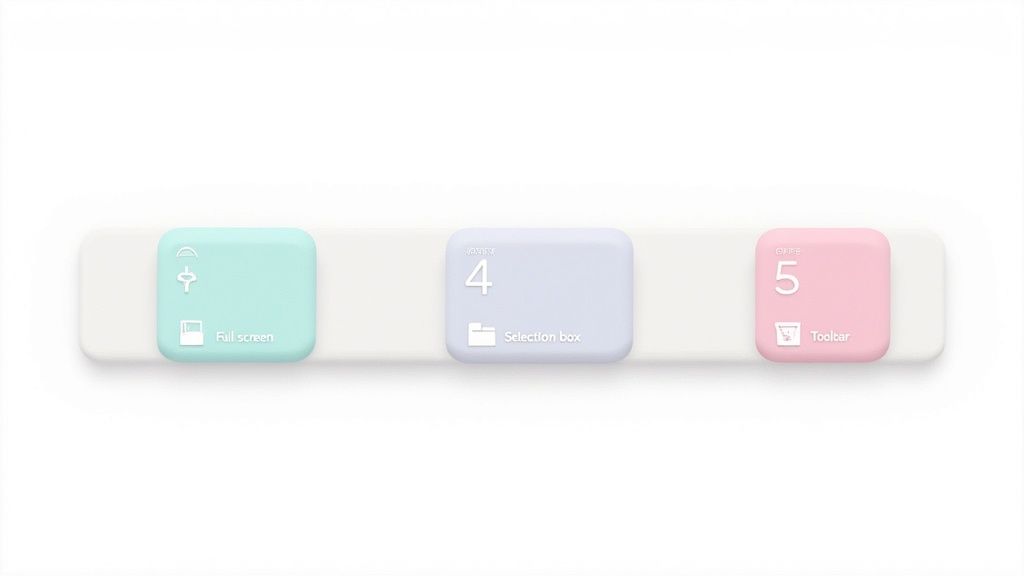
While keyboard shortcuts are great for a quick grab, your Mac has a dedicated Screenshot app that gives you a whole new level of control. It’s basically your command center for all things screen capture. Just press Command + Shift + 5 to bring it up.
This one shortcut summons a powerful toolbar at the bottom of your screen, instantly changing the game. You're no longer just snapping a picture; you can now record your screen, set a timer, and even choose exactly where your files go. It's so useful that it now accounts for over 70% of all screenshot captures on Mac. If you're curious about these trends, you can explore the latest macOS usage data for more details.
This integrated tool turns a simple action into a deliberate, professional workflow.
More Than Just Images: Screen Recording
One of the best things about the Screenshot app is its built-in screen recording. You don't need another piece of software. The toolbar gives you two straightforward options for video:
- Record Entire Screen: This is what you want when creating a full tutorial, like walking someone through a software installation from start to finish.
- Record Selected Portion: Perfect for a focused video clip. Use this to highlight a specific feature or interaction without revealing your entire cluttered desktop.
When you're done, just click the little stop button that appears in your menu bar. It's an incredibly simple way to create quick how-to videos or document a complex bug for your IT team.
A Pro Move for Tricky Captures: The timer function is a lifesaver. Go into the 'Options' menu and set a 5 or 10-second delay. This lets you capture things like dropdown menus or other interface elements that vanish the second you press a key.
Fine-Tuning Your Capture Settings
The real magic of the Screenshot app is hidden in its ‘Options’ menu. This is where you can dial in the settings to match how you work. For instance, you can finally change the default save location from your desktop to a dedicated "Screenshots" folder, which is a fantastic way to keep your workspace tidy.
You can also tweak a few other incredibly useful settings:
- Show Floating Thumbnail: I recommend keeping this on. It lets you jump straight into Markup tools for quick edits right after you take a shot.
- Remember Last Selection: This is a huge time-saver if you find yourself capturing the same part of your screen over and over again.
- Show Mouse Pointer: Choose whether to include your cursor in the final image or video. It’s a small detail that makes a big difference for instructional content.
By taking a minute to explore these options, you can build a personalized workflow that makes capturing and managing your screenshots practically effortless.
Editing and Annotating Your Screenshots

Knowing how to snap a screenshot is one thing, but turning that raw image into a clear, helpful visual is where the real magic happens. As soon as you capture your screen, you'll see a little thumbnail pop up in the bottom-right corner. My advice? Don't just let it disappear.
Clicking on that thumbnail instantly opens your Mac's built-in editor, Markup. This is a huge time-saver. You can crop, annotate, and clean up your shot right then and there, without ever having to hunt for a separate application. It’s a beautifully fluid workflow for making better visuals on the fly.
Making Your Point with Markup Tools
Once you're in the Markup view, you’ll find a simple toolbar packed with everything you need to add clarity. If I'm putting together a quick tutorial for a colleague, I’ll often use the Draw tool to add a quick arrow pointing to the exact button they need to click. It takes two seconds and prevents a ton of confusion.
The tools are straightforward but surprisingly effective:
- Shapes Tool: Need to draw attention to a specific part of a settings panel? Pop a rectangle or oval around it. Clean, simple, and immediately focuses the viewer's eye.
- Text Tool: This is perfect for adding short, punchy labels directly on the image. You can explain what a field is for or add a quick note for context.
- Sign Tool: Incredibly useful for paperwork. You can screenshot a document, pop open Markup, and drop in your saved signature in a matter of seconds.
Pro Tip: Trying to point out a tiny detail? The Magnifier tool is fantastic. It creates a movable magnifying glass over your image, making small icons or fine print perfectly legible without having to zoom the entire screenshot.
More Than Just Basic Edits
Markup has a few other clever tricks up its sleeve. The Sketch tool, for example, has shape recognition. If you draw a wobbly, hand-drawn arrow, your Mac will offer to snap it into a perfectly straight, professional-looking one.
This built-in suite of tools turns a simple screenshot from just a picture into a powerful communication tool. Whether you’re showing a developer a bug or creating a step-by-step guide for your blog, spending just a moment to add a few annotations can make all the difference.
Taking Your Mac Screenshots to the Next Level
Once you've got the basic Mac screenshot commands down, you can start weaving in some more advanced moves. These might seem like small tweaks, but over time, they add up to make your daily workflow much smoother. I use these constantly, and they save me a ton of little frustrations.
One of the biggest game-changers is skipping the file-saving step altogether. Instead of cluttering your desktop with one-off images, you can copy a screenshot directly to your clipboard. Just add the Control key to your usual shortcut. For example, pressing Control + Command + Shift + 4 lets you select an area, and poof—it's copied and ready to paste directly into a Slack chat, an email, or a Google Doc. No file, no mess.
Fine-Tuning Your Screenshots
Beyond the clipboard, macOS has a few other built-in tricks for specific situations. If you're working on a MacBook Pro, you can actually screenshot the Touch Bar itself with Command + Shift + 6. This is a lifesaver when you're trying to create a tutorial or show someone exactly which button to press.
You can also change the default file type if you find yourself needing smaller images. Macs save screenshots as high-quality PNGs by default, but these files can be a bit chunky. If you’d rather have JPEGs to save space, you can switch the default.
Pro Tip: This does require a quick, one-time command in the Terminal app. But once you set it, you're good to go until you decide to switch back. It’s a classic set-it-and-forget-it tweak.
Bringing in the Pros: Third-Party Tools
For those moments when the built-in tools just don't cut it, a good third-party app is your best friend. This is where you can go from a basic screen capture to something truly professional-looking.
With a tool like our own GrabShot.io, for instance, you can instantly beautify a screenshot by adding custom backgrounds, elegant shadows, or rounded corners. It turns a boring capture into a polished visual that’s ready for a presentation or a marketing site.
Many of these specialized tools also come packed with other powerful features, like:
- Cloud Syncing: They can automatically upload your screenshot and hand you a shareable link.
- Smarter Redaction: Instead of just drawing a black box, you can cleanly blur out sensitive info.
- Better Organization: Think folders and tags to manage hundreds of captures without losing your mind.
These aren't just minor upgrades; they turn the simple act of taking a screenshot into a core part of how you communicate and share ideas.
Got Questions About Mac Screenshots? Let's Clear Them Up.
Even after you've mastered the basics of taking a screenshot on a Mac, a few common questions tend to crop up. Getting these sorted out will save you a lot of headaches and help you build a much smoother workflow.
So, where in the world do these captures actually go? By default, your Mac saves every single screenshot directly to your Desktop. While convenient at first, this can quickly lead to a sea of files named something like Screen Shot 2024-10-27 at 10.30.00 AM.png.
Tired of a Cluttered Desktop? Change Where Your Screenshots Are Saved
If you're like me, a messy desktop is a major distraction. Thankfully, you can easily tell your Mac to save those screenshots somewhere more organized.
Here’s how to do it:
- Press Command + Shift + 5 to bring up the screenshot toolbar.
- Click on the ‘Options’ button in the toolbar.
- Look for the "Save to" section and pick a different spot. I personally use a dedicated "Screenshots" folder inside my Documents to keep everything tidy.
Making this one small change is a lifesaver for staying organized.
What to Do When Your Mac Won't Take a Screenshot
It’s frustrating when you hit the shortcut and… nothing happens. If your Mac suddenly stops taking screenshots, the first place to look is your keyboard settings.
Head over to System Settings > Keyboard > Keyboard Shortcuts > Screenshots. Make sure all the boxes are checked and that the default shortcuts haven't been accidentally changed or disabled.
If the settings look fine, don't underestimate the power of a simple restart. It can clear up temporary software glitches that might be getting in the way. Another common culprit? A third-party app could be hijacking the keyboard command, so try quitting any recently installed apps to see if that solves the problem.
Ready to take your captures from basic to brilliant? GrabShot.io lets you instantly add beautiful backgrounds, blur or redact sensitive info with a click, and create professional-looking images that are ready to share. Give it a try—it's free.