

So, you've just hit the Windows key + PrtScn combo to grab a quick screenshot. But where did it go? It's a common question, and thankfully, Windows has a straightforward system to keep things from getting lost.
Where Windows Hides Your Screenshots
Unlike just hitting PrtScn, which copies the image to your clipboard, using the Win + PrtScn shortcut actually saves the image directly as a file. No more pasting into Paint just to save a simple capture.
Windows tucks these files away in a dedicated folder to keep your main picture library from getting cluttered with random screen grabs. It’s a neat, organized approach that makes finding them later a breeze.
Navigating to the Screenshots Folder
Your screenshots live in a folder—you guessed it—called "Screenshots." You can find it inside your main "Pictures" library.
The full file path usually looks something like this: C:Users%username%PicturesScreenshots.
Placing it inside the Pictures library is a smart move by Microsoft. It groups your screenshots with your other images, making media management feel natural. You don't have to go digging through system files; they're right where you'd expect visual content to be.
Expert Tip: The very first time you use the
Win + PrtScnshortcut, Windows automatically creates the "Screenshots" folder for you. There’s no setup required—it just works from the first snap.
Not All Screenshots Are Created Equal
This default location is consistent across both Windows 10 and Windows 11, which is great for predictability. If you want to learn more about the nitty-gritty of Windows file management, tech sites like Neowin often have deep dives on the topic.
But it's important to remember that different tools save their captures in different places. This can get confusing if you're not sure which method you used.
To make things simpler, here’s a quick rundown of where different screenshot methods save their files by default.
Quick Guide to Windows Screenshot Methods and Locations
| Capture Method | Keystroke | Default Save Behavior |
|---|---|---|
| Print Screen | PrtScn |
Copies the entire screen to your clipboard. No file is saved. |
| Save Screenshot | Win + PrtScn |
Saves a PNG file to the PicturesScreenshots folder. |
| Snip & Sketch | Win + Shift + S |
Copies the snip to the clipboard; prompts you to save manually. |
| Xbox Game Bar | Win + G or Win + Alt + PrtScn |
Saves a PNG file to the VideosCaptures folder. |
Knowing these subtle differences is a huge help. It ensures you can always track down your captures, whether you grabbed a shot of your desktop or a key moment in a game.
How to Quickly Get to Your Screenshot Folder
Okay, so you know where Windows stashes your screenshots. But clicking through a bunch of folders every single time is a drag. Let's talk about the faster ways to get there, because saving a few clicks here and there really adds up.
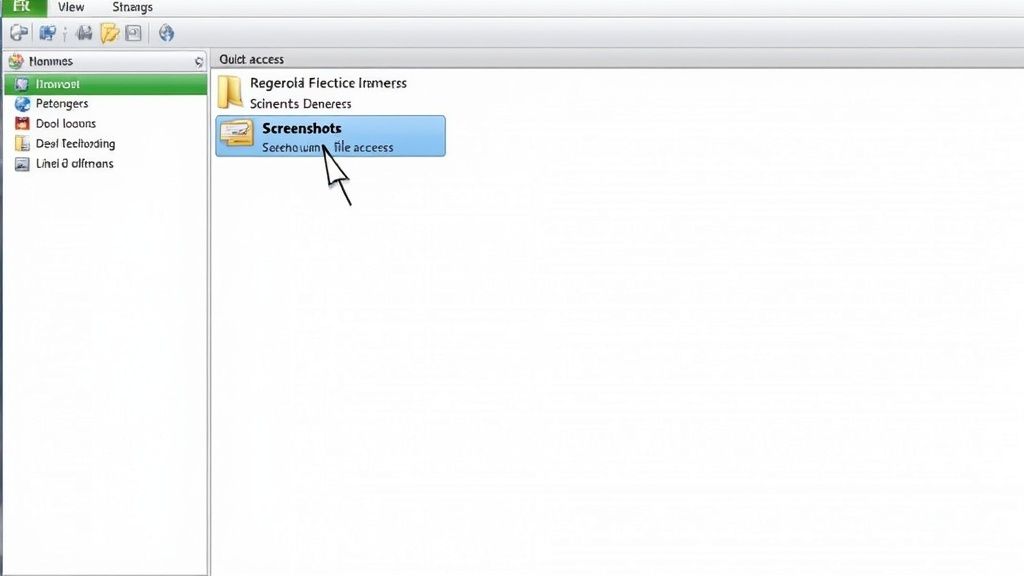
Most of the time, your Pictures folder is already sitting in the Quick access panel on the left side of File Explorer. You can just click that, then double-click the Screenshots folder. It's a pretty reliable two-step that works just fine for most people.
But if you're like me and take a ton of screenshots, "fine" isn't good enough. There are even quicker ways.
Use the File Explorer Address Bar
For the most direct route possible, the address bar at the top of any File Explorer window is your best friend. This little trick lets you teleport directly to the folder, no clicking required.
It's a simple copy-and-paste job:
- Grab this path: Just copy this line of text:
%userprofile%PicturesScreenshots - Paste it and go: Click into the address bar in File Explorer, paste it in, and hit Enter.
That's it. You're there. The %userprofile% part is a handy variable that tells Windows to automatically find your user folder, so this shortcut works for everyone, no matter what your username is.
My Favorite Pro Tip: If you live in your
Screenshotsfolder, pin it! Seriously, this is a game-changer. Just navigate to the folder once, then drag its icon from the main window over to your Quick access panel. It'll stick there permanently, turning a two- or three-click hassle into a single click every time.
This one tiny adjustment makes a huge difference, especially if you're constantly grabbing screen captures for work or projects. It’s all about smoothing out those little repetitive tasks.
Changing Your Default Screenshot Location
Having a dedicated folder for screenshots is a nice touch, but what if that default spot doesn't work for you? Maybe your main C: drive is filling up, or perhaps you keep all your images and creative files on a separate drive to stay organized. Whatever the reason, you're not stuck with the default.
Thankfully, Windows gives you a straightforward and safe way to change where it saves your screenshots. You don't need to be a tech wizard or dig through confusing settings. The best approach is built right into the folder's properties, letting you redirect the save path to any other folder on any drive. It’s a clean method that keeps your file system tidy and working just the way you want it.
The Safest Way to Move Your Screenshot Folder
This process is surprisingly simple and, most importantly, ensures you don't lose a single image in the process. The trick is to use the dedicated "Location" tab in the folder's properties, which handles all the heavy lifting behind the scenes.
This quick visual guide shows just how easy it is.
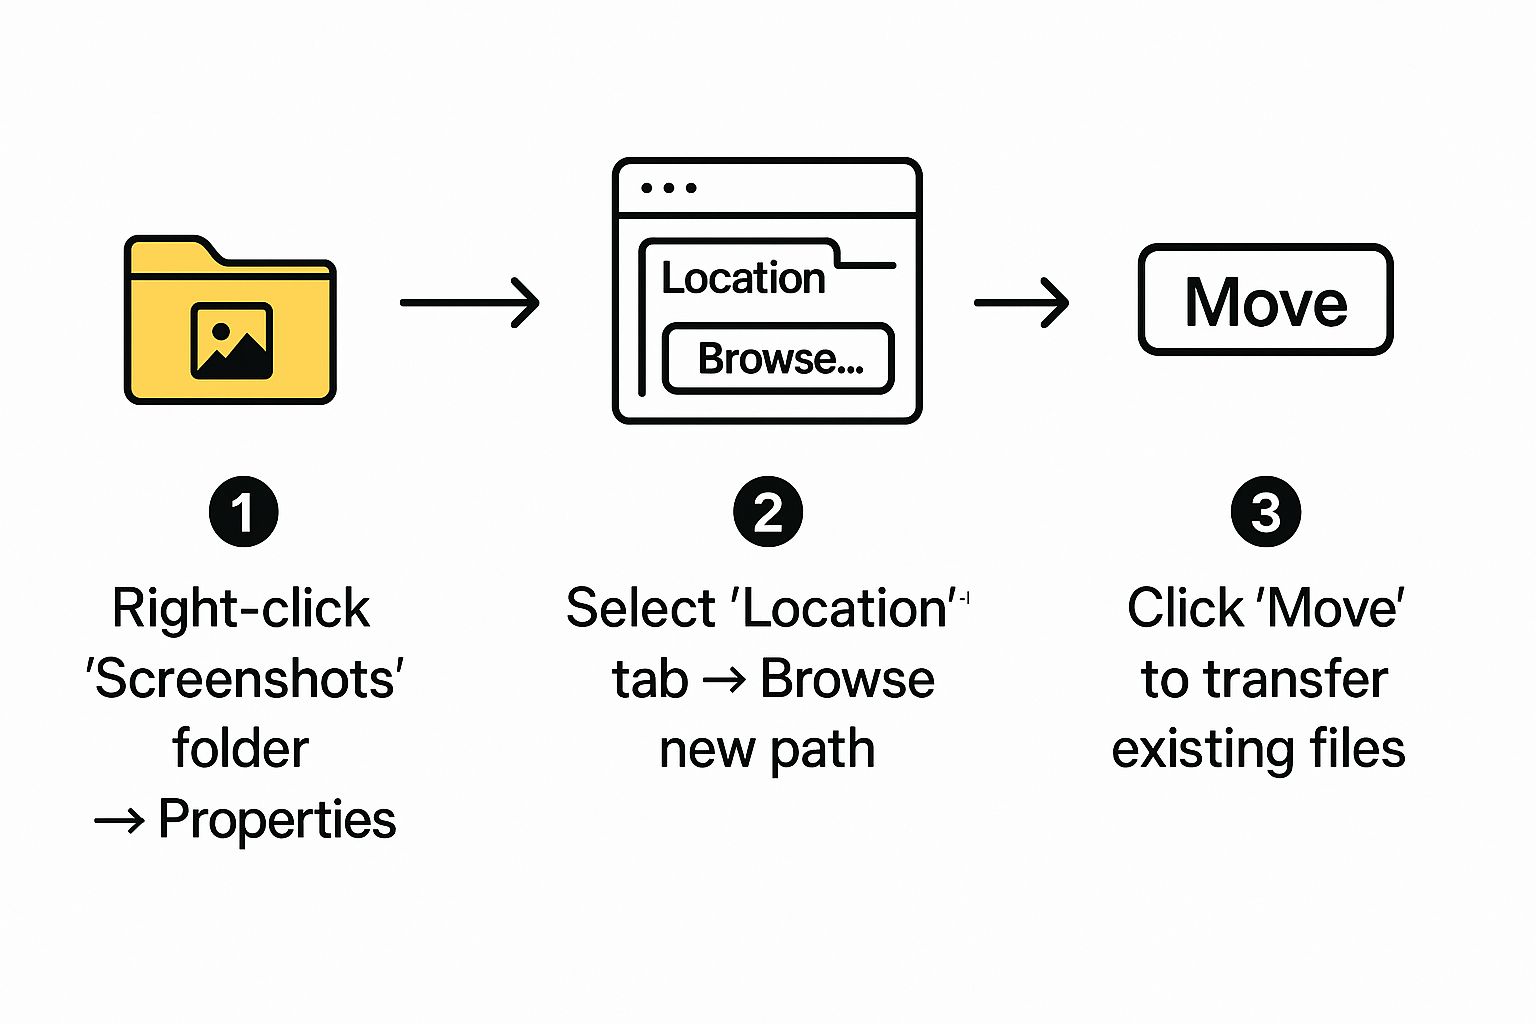
As you can see, everything happens right within the folder's properties menu, making it accessible for anyone.
Here’s how it works:
- Find your current
Screenshotsfolder. - Right-click on it and choose Properties.
- Head over to the Location tab—this is where the magic happens.
- Click the Move… button. File Explorer will pop up, asking you to pick a new destination. You can select a folder you've already made or create a new one on the fly.
Crucial Tip: Windows will ask if you want to move all the files from the old location to the new one. Always click Yes. This is a key step that transfers all your existing screenshots, preventing you from having images scattered across two different folders.
This built-in feature is hands-down the best way to handle this. It’s designed to seamlessly move everything over, which is why it's the recommended method. For a deeper dive into how Windows manages these system folders, there's some good official documentation that explains user folder management on microsoft.com.
What About the Windows Registry?
For the tech-savvy out there, you might be thinking, "Can't I just edit the Windows Registry?" And yes, you technically can. But this path is loaded with risks.
Making even a small mistake in the registry can lead to system instability, crashes, or other bizarre problems. Plus, it won't offer to move your existing screenshots for you. For these reasons, I highly recommend sticking with the folder Properties method. It’s safer, easier, and gets the job done perfectly for just about everyone.
Troubleshooting Why Screenshots Aren't Saving
We've all been there. You hit Win + PrtScn, the screen flashes, but when you go to find your image… it's just not there. It's a uniquely frustrating moment, and when screenshots fail to save, it's almost always one of a few common culprits.
More often than not, the problem isn't with Windows itself but with another program that's intercepted the command. Cloud storage apps are the usual suspects.
Check Your Cloud Storage Settings
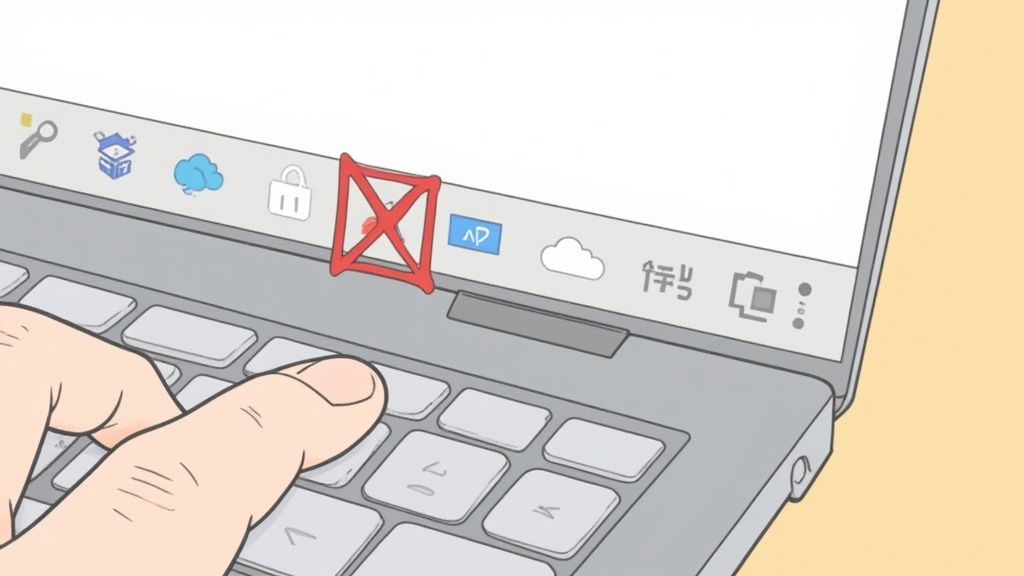
Services like OneDrive or Dropbox love to be helpful, and one way they do that is by "hijacking" your Print Screen key. They automatically reroute your screenshots to their own cloud folders, completely bypassing your local PicturesScreenshots directory.
If you think a cloud app is the cause, you'll need to dig into its settings. Look for an option related to screenshots and simply turn it off. In OneDrive, for example, you can find this under Settings > Sync and backup. Just uncheck the box for "Automatically save screenshots I capture to OneDrive". This immediately gives control back to Windows.
Pro Tip: The biggest clue is a notification from OneDrive or Dropbox popping up right after you press the keys. That's your confirmation that the app is redirecting your saves.
Verify Your Folder Permissions
Another, less obvious, roadblock can be folder permissions. For Windows to save anything, it needs "write" access to the target folder. If the permissions on your Screenshots folder somehow got messed up, the save will fail without any error message.
Here’s how to quickly check and fix it:
- First, head over to your
Picturesfolder. - Right-click the
Screenshotsfolder and choose Properties. - Click on the Security tab.
- Find your user account in the list and make sure it has Full control or, at the very least, Write permissions.
If the permissions look wrong, just click the Edit button to grant yourself the right access. It’s a simple fix, but it solves the problem more often than you'd think.
Taking Your Screenshot Workflow to the Next Level
If you're like me and take screenshots all day long, just knowing where they land is only half the battle. The real game-changer is learning how to manage them effectively, especially when you're capturing sensitive stuff.
Think about it for a second. That quick snap of a client invoice, a bank statement for your records, or a private message—it all becomes a file on your hard drive. Letting those images pile up in a generic, unsecured folder is a security risk waiting to happen if your computer ever gets into the wrong hands.
Deleting Isn't Always Enough
Most people assume that dragging a screenshot to the Recycle Bin and emptying it means it's gone for good. Unfortunately, it's not quite that simple. Windows is designed for speed, and to do that, it creates thumbnail caches to make your folders load faster. The ghost of your deleted image can sometimes linger in these caches.
With the right recovery tools, someone could potentially piece together fragments of files you thought were long gone. So, when it comes to confidential information, just hitting "Delete" doesn't give you the peace of mind you need.
My rule of thumb is to treat sensitive screenshots with the same care as any other important digital document. Never let them sit forgotten in a default folder.
Practical Steps for Securing Your Captures
Building a few simple habits into your routine can make a massive difference in keeping your visual data safe. It doesn't take much effort, but it pays off in security.
Here's what I recommend:
- Move them to a vault. Any screenshot with personal or financial info should be immediately moved to an encrypted location. You can use built-in tools like BitLocker or trusted third-party software like VeraCrypt to create a password-protected space.
- Use a digital shredder. For the really sensitive stuff, a standard delete won't cut it. A secure file shredder overwrites the file’s data multiple times, making it virtually impossible to recover. Think of it as the digital equivalent of a cross-cut paper shredder.
- Schedule a regular clean-up. Set a reminder on your calendar—maybe every Friday afternoon—to go through your screenshots folder. Delete what you don't need (securely!), and file away anything important. A little bit of regular maintenance prevents a massive, unmanageable pile-up later.
Quick Answers to Common Screenshot Questions
Even with the basics down, a few questions always seem to pop up when it comes to taking screenshots in Windows. Let's clear the air and tackle some of the most common ones I hear.
Why Does My Screen Dim When I Take a Screenshot?
Think of that quick dimming effect as a visual confirmation from Windows. It’s the operating system's way of telling you, "Got it!" The Win + PrtScn command worked, and a file was just saved to your hard drive.
If your screen doesn't dim, that's a clue. It almost always means your screenshot was only copied to the clipboard, not saved as a file in your Screenshots folder.
Can I Save Screenshots Directly to the Cloud?
You sure can. In fact, most people who use cloud storage probably have this feature and might not even realize it's active. Services like OneDrive and Dropbox can hijack the PrtScn key for you.
When you turn this on in their settings, they'll automatically grab any screenshot you take and upload it directly to a folder in your cloud account—usually one named Pictures > Screenshots. It bypasses the local folder entirely, which is incredibly handy for sharing across devices.
The real takeaway here is the difference between the two main shortcuts. Win + PrtScn saves a file locally. Just pressing PrtScn only copies the image to your clipboard. The first gives you an instant file; the second requires you to paste it somewhere (like Paint or a Word doc) to save it. Mastering this distinction is the key to a faster workflow.
What’s the Difference Between PrtScn and Win + PrtScn?
This is easily the biggest point of confusion, but it's simple once you get it. They look similar, but they do completely different jobs.
- PrtScn: This is your "copy" button. It takes a picture of your screen (or just the active window if you use Alt + PrtScn) and places it on your clipboard. No file gets created on its own.
- Win + PrtScn: This is your "copy and save" button. It does everything the regular PrtScn key does, but it also instantly saves that image as a PNG file right into your screenshots folder.
Knowing which one to use when will save you a ton of little headaches. If you need to quickly paste something into an email, PrtScn is your friend. If you need a permanent file you can find later, Win + PrtScn is the way to go.
Ready to stop just capturing and start creating? GrabShot.io transforms your basic screenshots into professional, shareable assets in seconds. Ditch the clunky editors and elevate your visuals with AI-powered beautification, instant redaction, and perfect presets for any platform. Try it for free and see why over 10,000 pros trust us to make their screenshots stand out. Create your first stunning visual with GrabShot.io.