
A screenshot annotation tool does more than just capture your screen—it turns a basic image into a powerful communication shortcut. It lets you draw, write, and highlight directly on the screenshot to show someone exactly what you mean.
Instead of just showing what's on your screen, you can now explain why it’s important. That simple addition of an arrow or a quick note transforms a static picture into a clear, visual guide.
How Screenshot Annotation Cuts Through the Clutter
We've all been there: trying to explain a software bug or a design change in a long, winding email. The back-and-forth can be incredibly frustrating. This is exactly the problem screenshot annotation tools were built to solve. They let you show the issue, not just describe it.
A plain screenshot is like a photograph of a city—you can see what’s there, but you have no context. An annotated screenshot is that same photo turned into a tourist map, complete with highlighted routes, circled landmarks, and helpful notes. It instantly focuses everyone’s attention on what really matters, eliminating any guesswork.
Adding this layer of context is why these tools have moved from a "nice-to-have" utility to a core business asset.
To illustrate this, let's compare how communication changes when you add annotations.
Plain Screenshot vs. Annotated Screenshot
| Communication Aspect | Plain Screenshot | Annotated Screenshot |
|---|---|---|
| Clarity | Can be ambiguous. "It's the button on the left." | Pinpoints the exact element with an arrow or circle. |
| Efficiency | Often requires a long text explanation to go with it. | The context is built right into the image; less text needed. |
| Error Reporting | "The app crashed after I clicked something." | Shows the exact sequence of clicks and highlights the error message. |
| Feedback | Leads to questions like, "Which part do you mean?" | Clearly marks specific areas for revision. "Change this text." |
As you can see, the annotated version delivers the message faster and with far less room for misunderstanding.
The demand for this kind of clarity is skyrocketing, especially in fields like software development, QA, and customer support. It’s no surprise the global screenshot annotation tools market has grown to USD 1.24 billion. This isn't just a niche; it’s a reflection of how modern teams need to work. You can dig deeper into the market trends for annotation tools on dataintelo.com.
Ultimately, a good annotation tool tackles communication breakdowns head-on. By adding simple, clear context directly onto your visuals, it saves everyone a ton of time and prevents costly misunderstandings.
The Essential Features of Great Annotation Tools
So, what separates a decent screenshot annotation tool from a truly great one? It's not just about having a long list of features. The best tools give you a powerful but simple toolkit for turning a static image into a clear, actionable message.
Think of it like this: a plain screenshot is just a picture. But once you add annotations, you're telling a story. You can guide your viewer's eyes, add crucial context, and even protect sensitive data in just a few clicks. The real goal isn't just to mark up an image, but to communicate more effectively and save everyone time.
Have you ever tried to explain something complex over email with just a wall of text? It's a recipe for confusion and back-and-forth messages. A good annotation tool breaks that frustrating cycle.
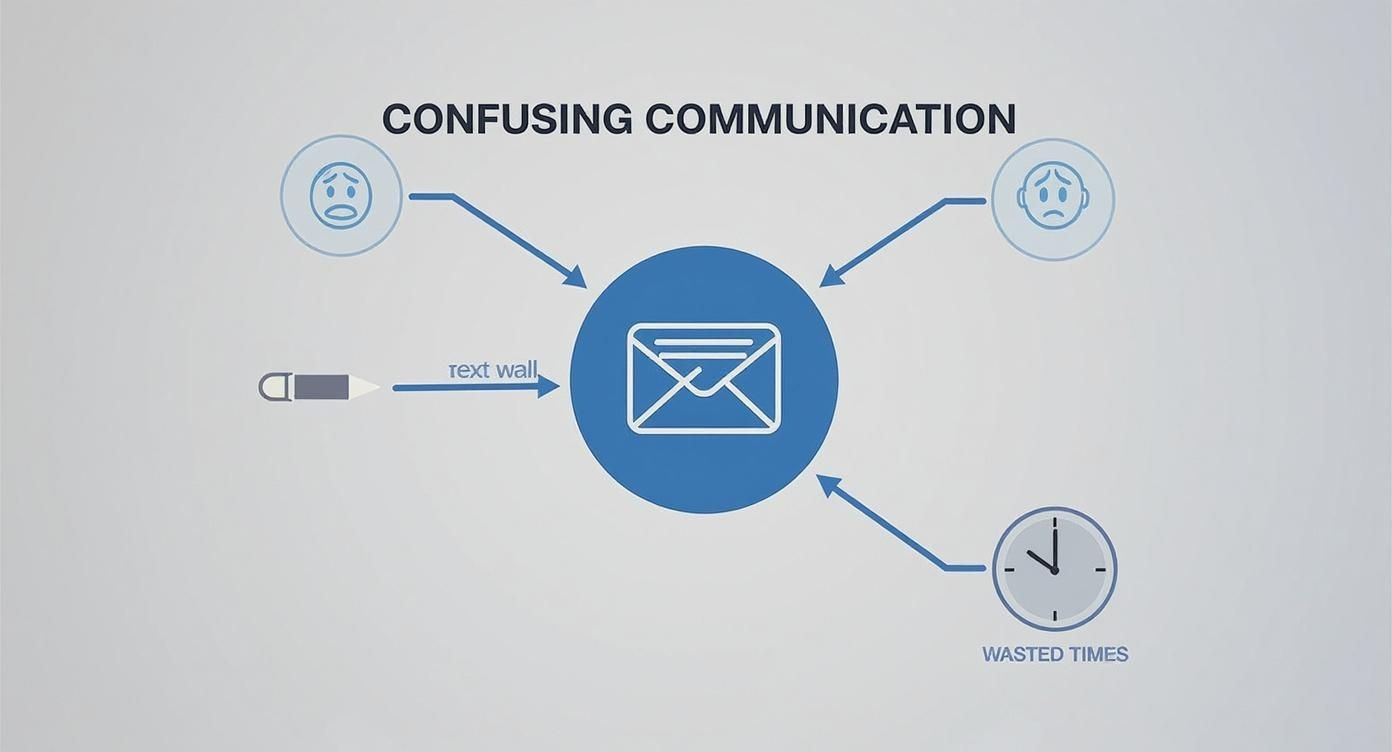
As you can see, adding that visual context is the secret sauce. It’s what transforms a confusing workflow into a smooth, efficient process.
Core Annotation Capabilities
A solid screenshot annotation tool should feel natural to use—like you’re just pointing and explaining things in person. Here are the non-negotiable features you'll actually use every day:
-
Arrows and Shapes: These are your digital pointers. An arrow can say, "Click this exact button," while a rectangle can frame an entire section that needs attention. They get rid of guesswork, plain and simple.
-
Text Boxes: Sometimes, a picture needs a few words. With a text box, you can add a quick instruction or ask a clarifying question right on the image itself. No need for a separate, lengthy email to explain what you mean.
-
Highlighters: This is the perfect tool for drawing focus without blocking anything out. You can highlight a single sentence in a long article or a key number in a busy spreadsheet, making the important stuff impossible to miss.
A great tool lets you combine these elements effortlessly, creating layers of information that are easy for anyone to understand at a glance. The focus is always on clarity, not clutter.
Protecting Sensitive Information
In a professional setting, what you don't show is often as important as what you do. Hiding private data is a must-have capability.
A blur or pixelation tool is absolutely essential for privacy and security. Before you send a bug report to a developer, you can quickly obscure a customer's name, email, or credit card number. This one simple step keeps sensitive info safe while still showing the technical problem clearly. For professional use, this isn't just a nice-to-have; it's a requirement.
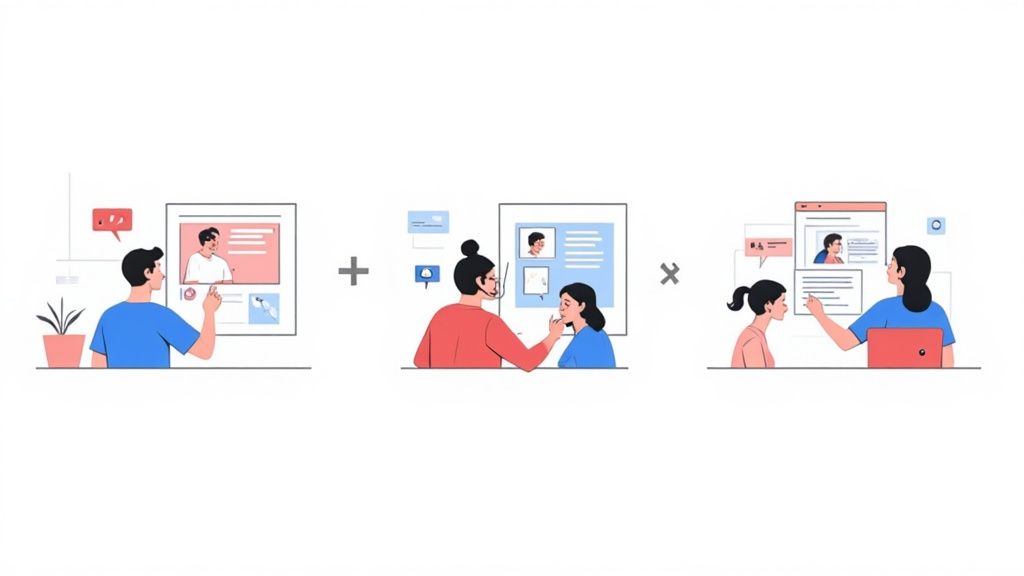
It’s one thing to talk about features, but where a screenshot annotation tool really proves its worth is in the day-to-day grind. For professional teams, these tools aren't just a nice-to-have; they’re often the central hub for clear, effective communication.
Think of it as the bridge between "I see a problem" and "Here's how to fix it." Instead of trying to describe a complex issue with words alone, teams can create a visual record that leaves zero room for misinterpretation. This simple shift from text to visuals slashes the time wasted on back-and-forth emails and prevents costly mistakes.
From Bug Reports to User Guides
The applications are incredibly diverse, with different departments finding unique ways to make their workflows smoother. A solid screenshot annotation tool quickly becomes the common language for visual problem-solving across the entire organization.
-
Quality Assurance (QA) Engineers: For a QA engineer, a picture is literally worth a thousand lines of code. They use annotated screenshots to create bug reports that are impossible to misunderstand. An arrow pointing to a glitched-out button, a text box detailing the steps to reproduce the error, and a highlighted error message—it gives developers everything they need to crush the bug on the first try.
-
Customer Support Agents: Support agents are masters of turning customer confusion into clarity. When a user is stuck, an agent can quickly send a screenshot with numbered steps and simple annotations to walk them through the solution. This transforms a potentially frustrating support ticket into a genuinely helpful experience.
-
UX/UI Designers: Designers live and die by precise feedback. Instead of getting vague comments like, "I don't like that button," stakeholders can circle the exact element and add a note like, "Increase this icon's size by 15%." This kind of specific, visual feedback is gold during fast-paced design cycles.
These real-world scenarios show how a simple tool can fundamentally change how teams work together. It shifts communication from abstract descriptions to concrete, actionable instructions that anyone can understand in seconds.
At the end of the day, whether you're squashing bugs, guiding customers, or finalizing a new design, a screenshot annotation tool makes sure everyone is on the same page—literally looking at the same picture.
An annotation tool is fantastic for one person, but its real power is unlocked when the whole team gets on board. When everyone uses a shared visual library, it becomes the central nervous system for your team's communication, tearing down the frustrating information silos that always seem to grind projects to a halt.
Think about it. No more frantic searching through old email chains or scrolling endlessly through Slack trying to find that one specific screenshot from last Tuesday. A shared library keeps everything organized and instantly accessible for everyone. This is a lifesaver for remote and distributed teams, where crystal-clear visual context is the glue that holds a project together.
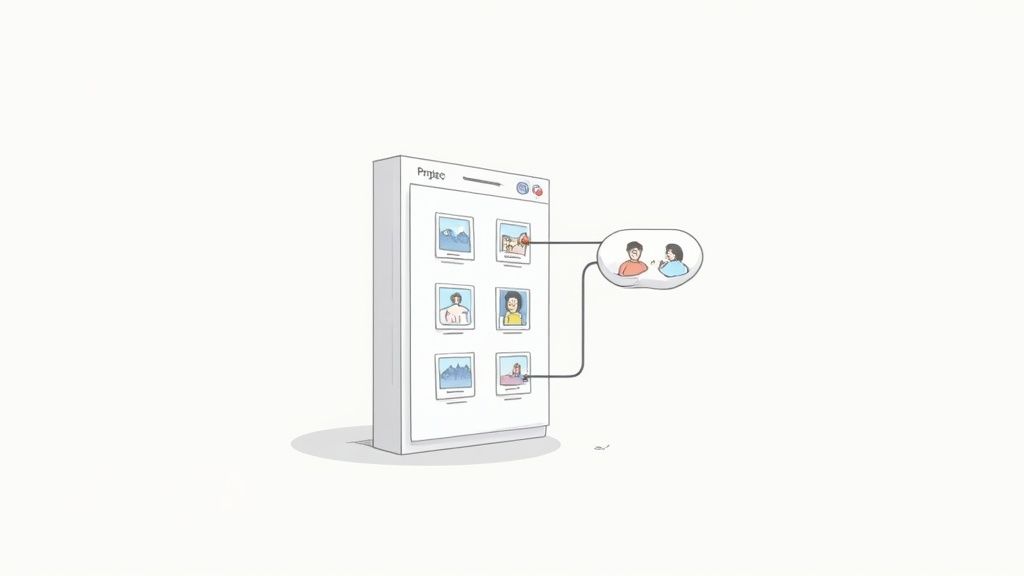
This central repository creates a single source of truth for all your visual assets. It's a simple concept, but it has a massive impact on project efficiency. When your entire team is looking at the same visuals, the potential for misunderstanding drops off a cliff.
Building a Frictionless Feedback Loop
Tools like GrabShot.io are built from the ground up for teamwork, with features that create a really smooth and open workflow. The goal is to make sure feedback isn't just given, but that it's easy to see and act on right away.
- Project-Specific Folders: You can sort your annotated screenshots into dedicated folders for different clients, projects, or campaigns. Everything stays neat and tidy, so team members can find what they need without having to ask someone.
- Instant Link Sharing: Forget about emailing bulky image files. Just grab a link and share it. The best part? That link always shows the latest version of the image, so everyone has the most current context.
- Threaded Comments: People can drop comments and replies right on the screenshot itself. This keeps the whole discussion attached to the visual it’s about, creating a perfect record of feedback and decisions.
When you put all this together, a shared library becomes so much more than just a place to store files. It transforms into an active, collaborative workspace that keeps projects moving, gets approvals done faster, and makes sure everyone is on the same page.
Ultimately, adopting a screenshot annotation tool with shared libraries means your team spends less time hunting for information and more time getting things done. It ensures every single person has the visual context they need, right when they need it, which leads to quicker, more accurate work across the board.
How to Choose the Right Annotation Tool
With so many choices out there, picking the right screenshot annotation tool can feel a bit like Goldilocks trying to find the perfect chair. The secret isn't finding the tool with the longest list of features; it's about finding the one that fits your specific, day-to-day work. A clunky tool that interrupts your flow is just a fancy way to slow yourself down.
The first big question to answer is where you do most of your work. Do you need a dedicated desktop app that works offline? Or would a lightweight browser extension be a better fit for your quick-capture style? Browser-based tools are often fantastic for speed, while desktop apps typically pack more power for detailed editing.
Next, think about how well the tool gets along with others. In a team environment, seamless integrations are a game-changer. If you live in apps like Jira, Trello, or Slack, you need a tool that can send annotated screenshots there directly. The whole point is to remove steps, not add them.
Evaluate Your Workflow Needs
Before you settle on a tool, take a minute to think about how you actually use screenshots. Mapping out your most common tasks will quickly tell you which features are must-haves versus nice-to-haves.
- Ease of Use: How intuitive is it? A great tool feels like an extension of your hand, letting you add arrows, text, and blurs in seconds without ever needing to look up a guide.
- Pricing Models: What’s the real cost? Free versions are perfect for occasional use, but professionals often need the unlimited storage, advanced editing, and team features that come with a Pro plan.
- Collaboration Features: Can you create a shared workspace or instantly generate a shareable link? For teams, having a central spot for all visual feedback is a massive time-saver.
Take a look at the GrabShot.io interface below. It’s a great example of a clean, straightforward layout where the tools you need are always within reach.
This kind of design is built for speed and clarity. It helps you make your point visually, add professional-looking edits, and share it with your team in just a few clicks.
A Few Common Questions
Even after seeing what screenshot annotation tools can do, a few questions tend to pop up. Let's tackle some of the most common ones to clear up any lingering doubts.
Are My Screenshots Safe When Using Annotation Tools?
Absolutely, as long as you choose a professional tool. This is a huge concern, especially when you're dealing with customer data or internal documents, and reputable developers know this.
The most important feature for security is a good blur or pixelation tool. This is your go-to for redacting names, email addresses, credit card numbers—any sensitive info that shouldn't be shared. It lets you highlight a technical problem without accidentally exposing private data.
Cloud-based tools like GrabShot.io also use secure servers and encryption to protect your images. The bottom line: always check the privacy policy and pick a tool that puts you in control of who sees your visuals.
Can I Annotate Videos, Too?
Mostly, these tools are built for static images. That’s their bread and butter. However, the lines are starting to blur a bit.
Some of the more advanced platforms are dipping their toes into video. You might find tools with simple screen recording features that let you capture a quick GIF or short video. But for any real video editing, you'll still want to stick with dedicated video software. For everyday tasks like bug reports or quick how-to guides, a powerful image annotation tool gives you everything you need.
How Do These Tools Fit Into My Current Workflow?
This is where the best tools really shine. They don't force you to change how you work; they slide right into your existing processes. Look for tools that play nicely with apps your team depends on, like Jira, Trello, or Slack.
Integrations are the secret sauce. Many tools have direct "Share to…" buttons that send your annotated screenshot straight into another app, like creating a new Jira ticket with the image already attached.
Even without a direct integration, almost every tool will give you a unique, shareable link for each screenshot. Just copy and paste that link into an email, a project management ticket, or a chat message. Your team can click it and see the full annotated image right in their browser—no downloads or sign-ups required. It’s incredibly smooth.
Ready to see the difference clear visuals can make? Give GrabShot.io a try and start creating perfectly annotated screenshots in just a few clicks. Get started for free at GrabShot.io.